The store will not work correctly in the case when cookies are disabled.
We collect user information to provide a better user experience and protect the security of our website. By continuing to use our website, you acknowledge the use of cookies.
Step 1: Prior to starting, it should be verified that the oven or range has been unplugged and that all power sources are turned off.
Step 2: The medium sized Phillips head screwdriver should be utilized to take out the screws securing the back panel of the oven or range.
Step 3: The back panel should be gently removed and set aside.
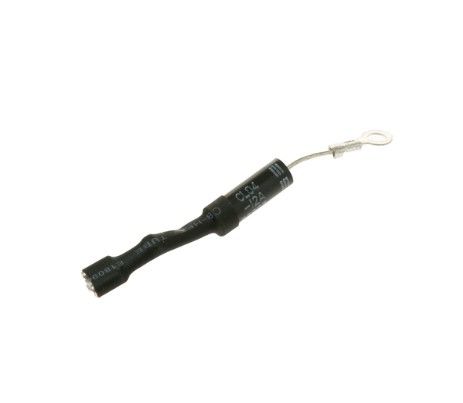
Step 4: The diode-cable assembly located at the bottom of the appliance should be identified, and with the small slotted screwdriver, the wires should be detached from the unit.
Step 5: The new diode-cable assembly should be inserted into position and needle-nose pliers should be used to connect the wires.
Step 6: The back panel should be reinstalled and fastened with the screws.
Step 7: The oven should be reconnected to the power supply and the power sources should be switched on to verify that the new assembly functions correctly.
Well done! The replacement of the GE WB27X35382 Diode-Cable Assembly has been successfully completed by you.
Note that these instructions provide general assistance and should always be referenced alongside the manufacturer's manual, if one is accessible.