
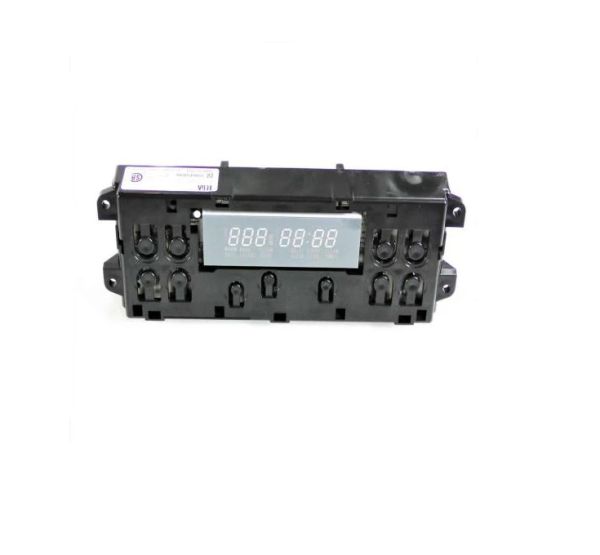
General Electric WB27X27464 Oven Control Board ERC3B2K5

Special Price $197.54 Regular Price $257.68
In stock
Available Quantity:   9
SKU
WB27X27464

Product Description

The General Electric WB27X27464 Oven Control Board ERC3B2K5 functions through the temperature, time, and performance. It is the electronic command center that interprets the user inputs and interacts with the heating components to make sure the appliance operates in a precise manner. It is a dependable design that is necessary in keeping the correct cooking cycles, and the same performance in compatible oven models.
Manufacturer

✓ This Product Replaces: WB27T10493
https://www.hnkparts.com/media/catalog/product/w/b/wb27x27464-83587.jpg

This Part Fits the Following Models (2)

Manufacturer Name: GENERAL ELECTRIC
Product Number: WB27X27464
OEM Part Number: WB27X27464
Product Description: Erc3b2k5 Oven Control

Choose the best Home Appliance parts and supplies from HnKParts!

  • Same Day Shipping

  • Best Quality And Best Price

  • Wide Range of Inventory

  • Best Customer Service

Have More Questions or Need Help to Place The Order?
Reach us at (866)723-0907 or [email protected]

Write Your Own Review
You're reviewing:General Electric WB27X27464 Oven Control Board ERC3B2K5
Your Rating
Customer Questions
What maintenance is required for the General Electric WB27X27464 Control Board?

Regularly inspect the control board for signs of burn marks, corrosion, or loose connections. Keep the oven interior clean to prevent spills from reaching the board. Always disconnect power before handling and avoid moisture exposure to ensure better and proper operation.

What are common issues with the General Electric WB27X27464 Control Board?

  • Oven not heating properly or at all.
  • Display or touchpad malfunctions.
  • Erratic temperature readings or cooking cycles.
  • Oven failing to respond to control inputs.

Installation Steps

Step1: Turn off the oven power at the circuit breaker to avoid electric shock.

Step2: Remove the oven’s back or control panel cover using proper tool.

Step3: Disconnect wiring harnesses carefully, noting their positions.

Step4: Remove the old control board and mount the new board.

Step5: Reconnect wires securely to matching terminals.

Step6: Reassemble the panel and align a new board, restore power.