
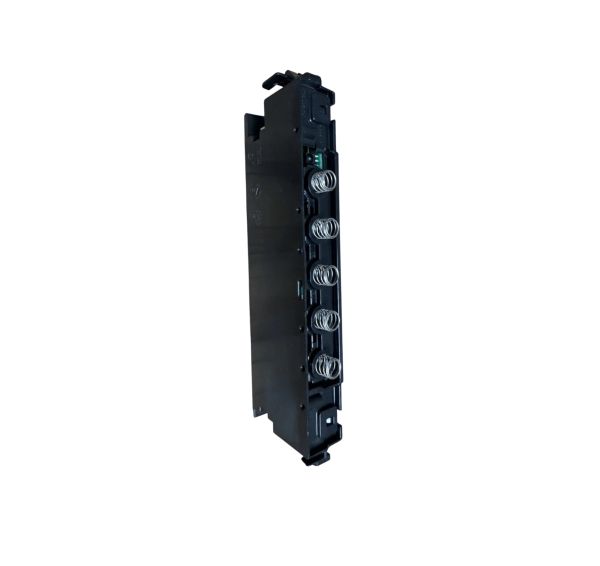
General Electric WB27X27213 Range Hood Control Board Assembly

Special Price $103.96 Regular Price $109.95
In stock
Available Quantity:   5
SKU
WB27X27213

Product Description

The General Electric WB27X27213 Range Hood Control Board Assembly manages the work of the fan and lights of the hood, and other functions. It works by processing user inputs and sending signals to control speed, lighting and performance of ventilation. This control board is fitted in the compatible GE range hoods, which allows it to control the functions accurately, maintain consistent airflow and coordinate all the functions operating.
Manufacturer

https://www.hnkparts.com/media/catalog/product/w/b/wb27x27213-61989.jpg
Manufacturer Name: GENERAL ELECTRIC
Product Number: WB27X27213
OEM Part Number: WB27X27213
Product Description: Control Board Asm

Choose the best Home Appliance parts and supplies from HNKParts!

  • Same Day Shipping

  • Best Quality And Best Price

  • Wide Range of Inventory

  • Best Customer Service

Have More Questions or Need Help to Place The Order?
Reach us at (866)723-0907 or [email protected]

Write Your Own Review
You're reviewing:General Electric WB27X27213 Range Hood Control Board Assembly
Your Rating
Customer Questions
What maintenance is required for the General Electric WB27X27213 Control Board Assembly?

Keep the control area clean and free from grease buildup to avoid electrical interference. Check wiring connections for signs of wear or looseness. Prevent exposure to excessive heat or moisture. Always disconnect power before servicing to reduce electrical hazards.

What are common issues with the General Electric WB27X27213 Control Board Assembly?

  • Unresponsive or intermittent fan and light controls.
  • Buttons failing to unregister inputs.
  • Electrical shorts or burnt components on the board.
  • Erratic operation or random fire activation of functions.

Installation Steps

Step1: Turn off range hood power and verify no voltage for safety.

Step2: Remove range hood cover and access control compartment.

Step3: Then disconnect old board carefully.

Step4: Mount new control board in same position and reconnect wiring harnesses securely.

Step5: Reassemble cover, restore power, and test all operations.