The store will not work correctly in the case when cookies are disabled.
We collect user information to provide a better user experience and protect the security of our website. By continuing to use our website, you acknowledge the use of cookies.
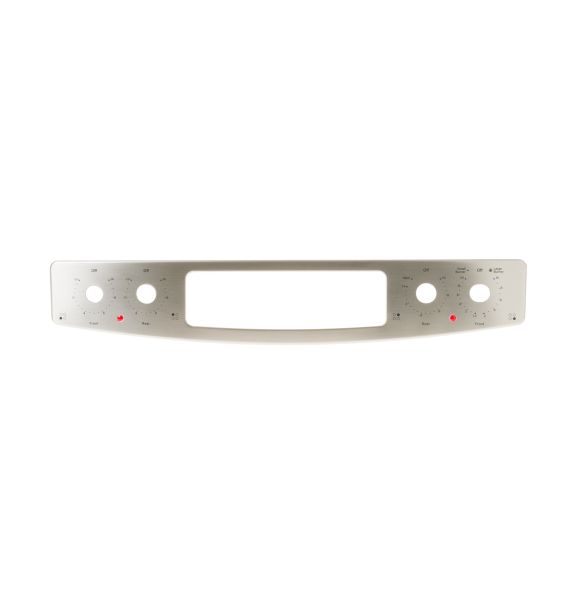
General Electric WB27X20065 Range Overlay Panel Assembly enhances the appearance and functionality of the range. It serves as an obvious control panel, with the knobs and adding to the attractive and polished finish of the appliance. It protects below from dust and spills, which will help the appliance look and work well for a longer period.
What maintenance is required for the General Electric WB27X20065 Overlay Panel Assembly?
Regularly wipe the Range panel with a soft, damp cloth to remove grease and food residue. Avoid abrasive cleaners that can scratch the surface. Inspect mounting hardware periodically to ensure the panel is secure. Proper cleaning prevents damage and ensures safe operation.
What are common issues with the General Electric WB27X20065 Overlay Panel Assembly?
Panel may warp or discolor from high heat exposure.
Screws or brackets can loosen, causing misalignment.
Surface scratches or dents from cookware impact.
Difficulty in fitting properly after replacement or adjustment.
Installation Steps
Step1: Ensure range unit is cool and dry before installation.
Step2: Disconnect power at breaker for safety.
Step3: Remove existing overlay panel carefully.
Step4: Align new overlay panel with control housing.
Step5: Secure using original clips or screws.
Step6: Restore power and test controls carefully before use.