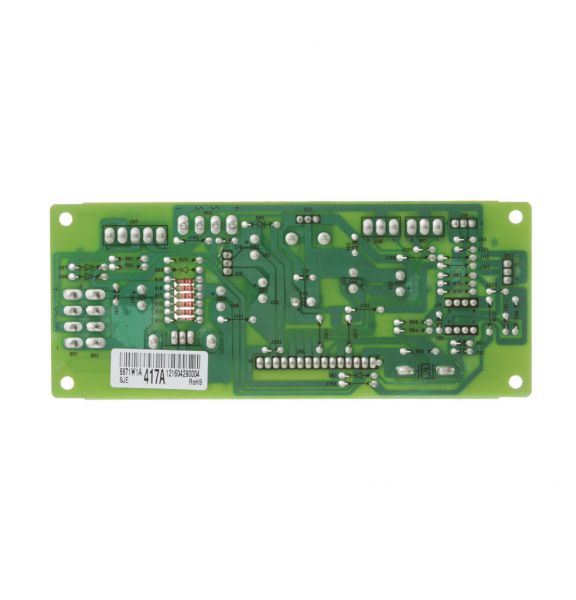
General Electric WB27X10861 Range Power Control Board PCB Subassembly
Special Price
$117.94
Regular Price
$134.95
In stock
Available Quantity:
86
SKU
WB27X10861
Product Description
The General Electric WB27X10861 Range Power Control Board PCB Subassembly allocates and manages power to vital appliance operations. It operates by interpreting the signals of the control interface and sending electricity to heating elements, timers. This power control board is mounted inside the electronic housing of the range, and is connected with wiring harnesses and relays, and other circuit assemblies, as part of the electrical and operational system of the appliance.
Manufacturer
