The store will not work correctly in the case when cookies are disabled.
We collect user information to provide a better user experience and protect the security of our website. By continuing to use our website, you acknowledge the use of cookies.
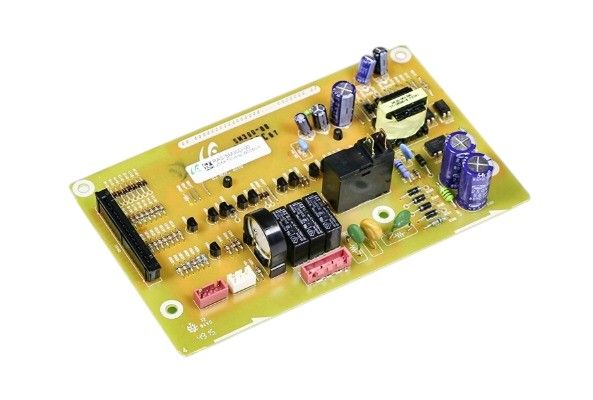
The General Electric WB27T11345 Oven Main Control Board fulfills multiple operations inside the oven functionality the control board enables setting temperatures while controlling cooking modes and managing the oven timer, the board the oven receives signals from its sensors and components such as thermostat and heating elements and fan to maintain proper cooking conditions and inputs to adjust heat and cooking times are processed correctly by the oven through this board. The control board activates error codes that notify about problems that require attention when malfunctions occur.
Step 1: The oven should be disconnected from the wall outlet. For enhanced safety, a circuit tester should be utilized to confirm that the power is off.
Step 2: The screws located at the back of the oven that secure the control panel should be taken out. The panel should be gently extracted and placed aside.
Step 3: The main control board should be identified. It will be situated behind the control panel and linked to the oven’s wiring harness.
Step 4: The wiring harness should be detached from the existing board. Each wire should be ensured labeled for straightforward reinstallation later.
Step 5: The screws that fasten the old board to the oven should be taken off.
Step 6: The new board should be secured to the oven using the screws supplied.
Step 7: The wiring harness should be reconnected to the new board. It should be verified that the same colored wires labeled in step four are used.
Step 8: The control panel should be reattached along with the replacement screws.
Step 9: The oven should be reconnected to the wall outlet and the board’s operation should be verified.
Please remember, these guidelines serve as general advice and should always be utilized alongside the manufacturer’s manual, if one is available.