
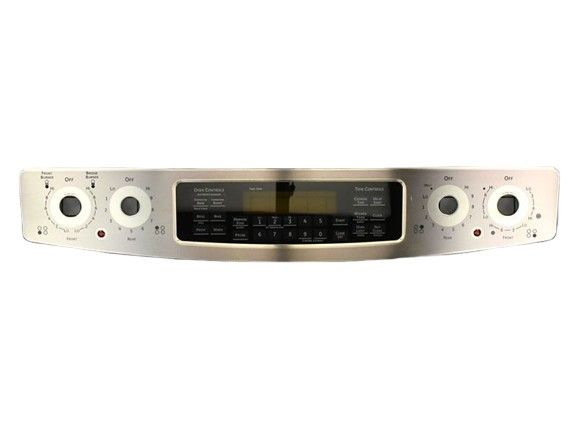
General Electric WB27T11200 Control Panel W/Glass Touchpad SS

Special Price $197.29 Regular Price $257.34
Out of stock
Available Quantity:   0
SKU
WB27T11200

Product Description

The General Electric WB27T11200 Glass Touch Assembly Stainless Steel works through the use of touch-sensitive technology to allow one to interact with the control system of the appliance, enhancing the input given to the appliance. This assembly also adds value to the appliance by providing a modern and robust appearance and optimizing usability with the help of easily understandable controls. It is an original part that is intended for use in certain GE home appliances, it has a sleek stainless steel look that enhances its outlook and its installation is easy enhancing its performance and durability.
Stove & Oven Parts, Oven Door Assembly,
32.8"X10.5"X4.9"
Manufacturer
https://www.hnkparts.com/media/catalog/product/w/b/wb27t11200-96215.jpg

This Part Fits the Following Models (3)

Write Your Own Review
You're reviewing:General Electric WB27T11200 Control Panel W/Glass Touchpad SS
Your Rating
Customer Questions
What maintenance is required for the General Electric WB27T11200 Control Panel With Glass Touchpad?

Regularly wipe the touchpad with a soft, damp cloth to prevent grime buildup. Avoid harsh chemicals to protect the glass surface. Check connections periodically and ensure the panel remains dry to prevent electrical issues.

What are common issues with the General Electric WB27T11200 Control Panel With Glass Touchpad?

  • Unresponsive or delayed touch controls.
  • Cracked or damaged glass surface.
  • Display not lighting up or flickering.
  • Intermittent button functionality.
  • Control panel not communicating with main board.

Installation Steps

Step1: Turn off power at the circuit breaker to avoid electrical shock.

Step2: Remove mounting screws securing the old control panel.

Step3: Carefully disconnect wire harnesses from the existing unit.

Step4: Attach connectors to the new control panel securely.

Step5: Position and fasten the new panel with screws.

Step6: Restore power and test functionality.

Step7: Ensure all connections are tight and panel is properly aligned.
