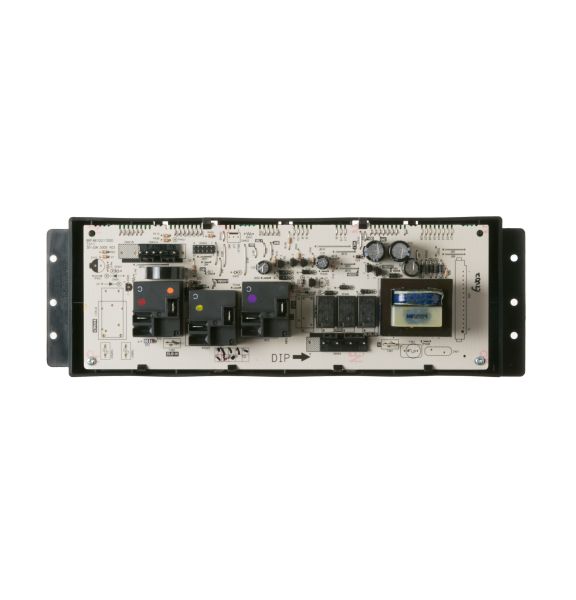
General Electric WB27T11161 Range Board Housing Assembly
Special Price
$162.60
Regular Price
$181.95
In stock
Available Quantity:
29
SKU
WB27T11161
Product Description
The General Electric WB27T11161 Range Board Housing Assembly covers and shields the control board and enables effective heat dissipation. It provides orderly mounting and shielding that ensures steady electrical performance in the console.
Manufacturer
