
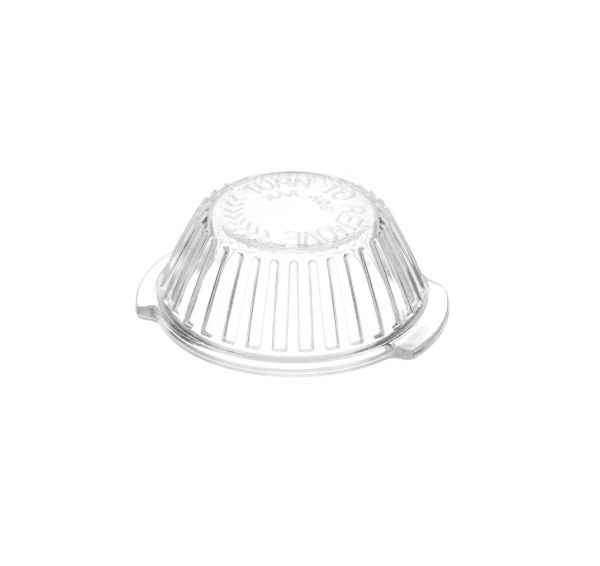
General Electric WB25T10002 Range Oven Bulb Lens Cover

Special Price $8.18 Regular Price $9.05
In stock
Available Quantity:   42
SKU
WB25T10002

Product Description

OVEN BULB LENS
Bulb,
Manufacturer

https://www.hnkparts.com/media/catalog/product/w/b/wb25t10002-94069.jpg

This Part Fits the Following Models (1116)

GE JCTP30BM1BB Electric Oven GE JCTP30BM2BB Electric Oven GE JCTP30DP1BB Electric Oven GE JCTP30DP1WW Electric Oven GE PT960SR1SS Electric Oven GE PT960SR2SS Electric Oven GE PT960WM1WW Wall Oven GE PT960WM2WW Wall Oven GE PT970BM1BB Oven GE PT970BM3BB Wall Oven GE PT970CM1CC Oven GE PT970CM3CC Wall Oven GE PT970DR1BB Electric Oven GE PT970DR1WW Electric Oven GE PT970DR2BB Electric Oven
Showing 1-15 of 1116
Manufacturer Name: GENERAL ELECTRIC
Product Number: WB25T10002
OEM Part Number: WB25T10002
Product Description: Oven Bulb Lens

Choose the best Home Appliance parts and supplies from HnKParts!

  • Same Day Shipping

  • Best Quality And Best Price

  • Wide Range of Inventory

  • Best Customer Service

Have More Questions or Need Help to Place The Order?
Reach us at (866)723-0907 or [email protected]

Write Your Own Review
You're reviewing:General Electric WB25T10002 Range Oven Bulb Lens Cover
Your Rating
Customer Questions
What maintenance is required for the General Electric WB25T10002 Bulb Lens Cover?

Regularly inspect the lens cover for cracks or discoloration and wipe it with a damp cloth to remove grease buildup. Proper maintenance ensures optimal light clarity and safe oven operation. Avoid abrasive cleaners to prevent damage.

What are common issues with the General Electric WB25T10002 Bulb Lens Cover?

  • Cracks or breakage due to oven heat exposure.
  • Grease or soot buildup reducing light output.
  • Loose fit causing rattling or misalignment.
  • Discoloration over time affecting visibility.

Installation Steps

Step1: Turn off power to the oven and allow it to cool completely.

Step2: Locate the oven light housing inside the oven cavity.

Step3: Carefully remove the old or damaged lens cover by unscrewing or unclipping it.

Step4: Align the new lens cover with the housing threads or clips.

Step5: Secure it by twisting clockwise until snug.

Step6: Restore power and test the oven light.