
Special Price
$21.03
Regular Price
$23.37
In stock
Available Quantity:
73
SKU
WB24X25056
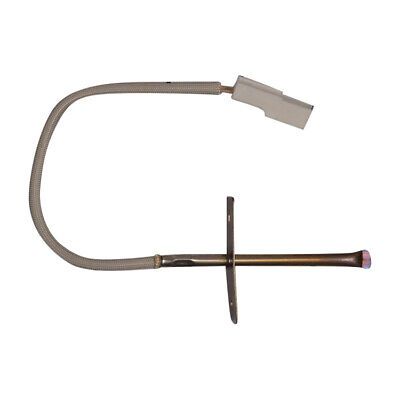
The General Electric WB24X25056 Range Sensor Assembly ensures precise temperature regulation for optimal cooking performance. This sensor monitors oven internal temperature and sends real-time data to the control board, allowing for accurate heat adjustments. Maintaining consistent temperatures helps achieve even cooking results, prevents overheating, and enhances overall efficiency. An essential component for maintaining performance, this sensor assembly helps extend the operational efficiency of the range while ensuring accurate temperature control. Designed for durability, it supports proper oven functionality and contributes to consistent baking and roasting outcomes.
Manufacturer

This Part Fits the Following Models (16)
GE JGBS86EP1ES Gas Range
GE JGBS86SP2SS Gas Range
GE PGB965BP1TS Gas Range
GE PGB965YP1FS Gas Range
GE JGSS86SP2SS Gas Range
GE Profile P2B940SEJ6SS Gas Range Or Dual Fuel
GE JGB860DEJ7BB Gas Range
GE JGB860SEJ7SS Free Standing Gas Range
GE P2B940SEJ4SS Gas Range Or Dual Fuel
GE P2B940SEJ2SS Gas Range
GE P2B940SEJ3SS Gas Range
GE P2B940SEJ1SS Gas Range
GE P2B940SEJ5SS Gas Range Or Dual Fuel
GE P2B940SEJ8SS Dual Fuel Range
GE P2B940SEJ7SS Dual Fuel Range
Showing 1-15
of 16
| Manufacturer Name: GENERAL ELECTRIC Product Number: WB24X25056 OEM Part Number: WB24X25056 Product Description: Sensor Asm |
Choose the best Home Appliance parts and supplies from HnKParts!
Same Day Shipping
Best Quality And Best Price
Wide Range of Inventory
Best Customer Service
Have More Questions or Need Help to Place The Order?
Reach us at (866)723-0907 or [email protected]
Write Your Own Review
Customer Questions
Installation Steps
Step1: Disconnect power at the breaker to avoid electric shock.
Step2: Remove the back panel of the range using a proper tool.
Step3: Locate the faulty sensor and carefully disconnect the wiring harness.
Step4: Unscrew and remove the old sensor assembly.
Step5: Install the new sensor and secure it with screws.
Step6: Reconnect wiring firmly and reattach the back panel.
Step7: Restore power and test the range for proper operation.
