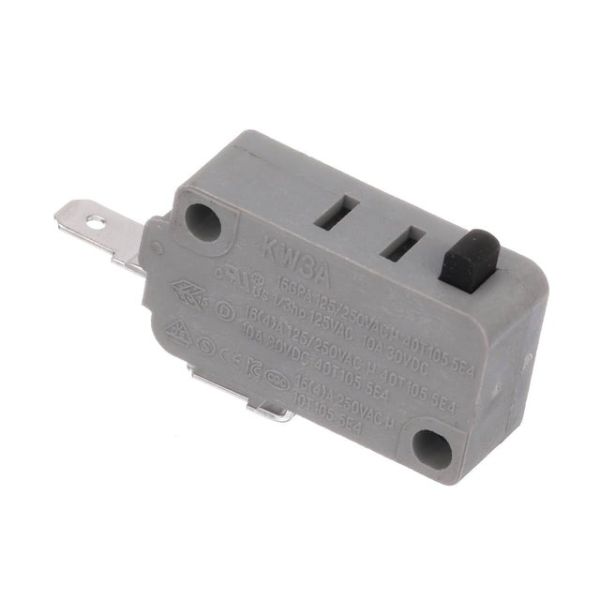
General Electric WB24X10146 Microwave Micro Switch
Special Price
$29.59
Regular Price
$49.95
In stock
Available Quantity:
146
SKU
WB24X10146
Product Description
The General Electric WB24X10146 Microwave Micro Switch detects mechanical position changes within the door or control mechanism and converts them into electrical on/off signals to regulate safe operation of the unit. It is installed inside the door latch or interlock assembly, where it interfaces with actuator tabs and mounting brackets through snap-fit or screw-secured positioning. Designed for rapid response and better contact switching, it communicates with the control circuit to enable or disable power delivery based on door status. It ensures proper safety interlock mode, controlled power activation, and consistent operational regulation across standard cooking and heating cycles.
Manufacturer
