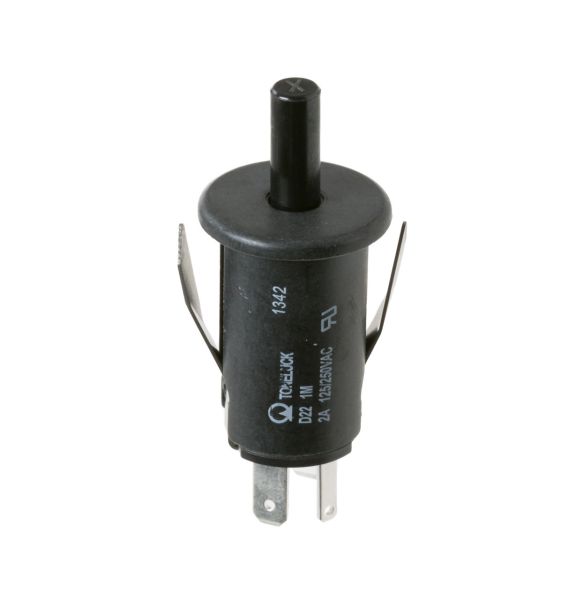
General Electric WB24T10147 Range SPDT High Amp Switch
Special Price
$18.58
Regular Price
$23.90
In stock
Available Quantity:
63
SKU
WB24T10147
Product Description
SWITCH SPDT HIGH AMP
Manufacturer

✓ This Product Replaces:
WB24K5031, WB24X5316, WB24K10004, WB24T10098, WB24T10112, 345078