
Special Price
$20.92
Regular Price
$29.30
In stock
Available Quantity:
88
SKU
WB24T10025
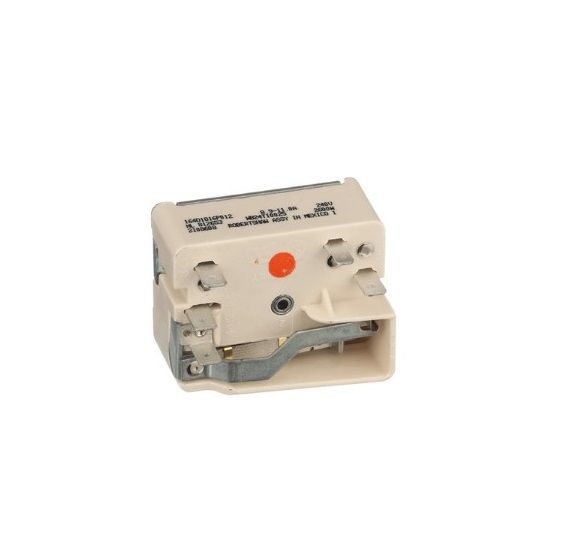
The General Electric WB24T10025 Range Burner Infinite Switch 2500W provides users with exact temperature control for electric cooktops to achieve precise cooking outcomes. The part functions to control power distribution to the burner which allows users to select temperature settings. Users can maintain their desired heat level through this part which controls electricity flow to the heating element. This part provides performance benefits together with improved cooking efficiency and safety through overheating prevention. This part features durable materials that provide extended functionality and serve as a necessary replacement component for multiple GE range appliances.
Manufacturer

✓ This Product Replaces:
WB24T10025-25PK
This Part Fits the Following Models (927)
GE JSP39SN2SS Electric Range
GE JSP39SN3SS Electric Range
GE JSP39SN4SS Electric Range
GE JSP39SN5SS Electric Range
GE JSP39WK1WW Electric Range
GE JSP39BK1BB Electric Range
GE JSP39BK2BB Electric Range
GE JSP39BK3BB Electric Range
GE JSP39BK4BB Electric Range
GE JSP39BK5BB Electric Range
GE JSP39CK1CC Electric Range
GE JSP39CK2CC Electric Range
GE JSP39CK3CC Electric Range
GE MCB757WJ1WW Range
GE MCBS523J1WW Range
Showing 1-15
of 927
| Manufacturer Name: General Electric Product Number: WB24T10025 OEM Part Number: WB24T10025 Product Description: Switch Infin(2500W) |
Choose the best Home Appliance parts and supplies from HnKParts!
Same Day Shipping
Best Quality And Best Price
Wide Range of Inventory
Best Customer Service
Have More Questions or Need Help to Place The Order?
Reach us at (866)723-0907 or [email protected]
Write Your Own Review
Customer Questions
Installation Steps
Step1: Disconnect power at breaker for safety and remove range back panel.
Step2: Label and carefully disconnect wires from the old switch terminals.
Step3: Unscrew and replace with the new infinite switch assembly.
Step4: Reconnect wires per wiring diagram or manufacturer guide.
Step5: Secure switch and reassemble rear panel properly.
Step6: Restore power and test burner carefully for proper operation.
