
Special Price
$120.87
Regular Price
$132.95
In stock
Available Quantity:
141
SKU
WB21X5301
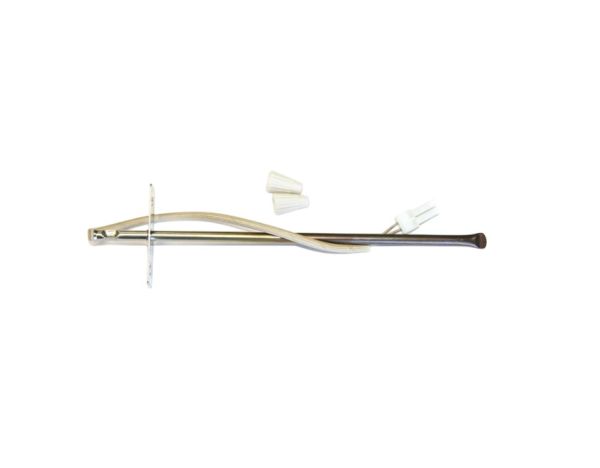
The General Electric WB21X5301 Range Oven Sensor Assembly regulates temperature by detecting heat changes and sending signals to the control board. It measures resistance variations as the oven heats, ensuring accurate temperature adjustments. This process maintains consistent cooking conditions and prevents overheating. With a 6-inch wire length, it allows precise temperature management, enhancing performance. Reliable temperature control improves cooking results, prevents uneven baking, and extends appliance lifespan by reducing wear from temperature fluctuations.
Manufacturer

✓ This Product Replaces:
WB20K4, WB20X106, WB21X5318, WB08K5007, WB20K0004, WB20X0106, 334300, 347163, 347183, 4337170
This Part Fits the Following Models (1166)
GE 24588L0 Electric Range
GE 24588W0 Electric Range
GE 24688B0 Electric Range
GE 24688L0 Electric Range
GE 24688W0 Electric Range
GE BRF725GL9 Electric Range
GE JBP45G-R2 Electric Range
GE JBP45G-R3 Electric Freestanding Ranges
GE JBP45GR1 Electric Range
GE JBP29GM4AD Electric Range
GE JBP29GM4WH Electric Range
GE JB571GM2 Electric Range
GE JB571GM3 Electric Range
GE JB571GM4 Electric Range
GE JB571GM5 Electric Range
Showing 1-15
of 1166
| Manufacturer Name: General Electric Product Number: WB21X5301 OEM Part Number: WB21X5301 Product Description: Oven Sensor 6 Length" |
Choose the best Home Appliance parts and supplies from HnKParts!
Same Day Shipping
Best Quality And Best Price
Wide Range of Inventory
Best Customer Service
Have More Questions or Need Help to Place The Order?
Reach us at (866)723-0907 or [email protected]
Write Your Own Review
Customer Questions
Installation Steps
Step1: Switch off range power at the breaker and confirm the cavity is cool before starting.
Step2: Open oven interior and locate the sensor mounted on the rear wall.
Step3: Remove mounting screws and gently pull the sensor forward to access wiring connector.
Step4: Disconnect the old sensor and attach the new sensor in the same position.
Step5: Secure screws, close panel, restore power, and check accurate temperature readings during operation.
