Step 1: Assemble Your Materials: Ensure all required materials are gathered prior to commencing. Safety goggles are crucial, as hazardous gas and flying debris may be involved in this task.
Step 2: Disable Gas Supply: Before proceeding, confirm that the main gas valve for your stove is turned off. This will avert any potential leaks or fires during the process.
Step 3: Extract Old Valve: With a screwdriver, the screws holding the old gas valve in position are detached. After the screws are removed, the old valve can be taken out from the stove.
Step 4: Clear the Area: Now that the old valve has been removed, a rag and some penetrating oil should be utilized to clean the space where the new valve will be installed. It should ensure that any dust, dirt, and grease from the surface are eliminated before proceeding.
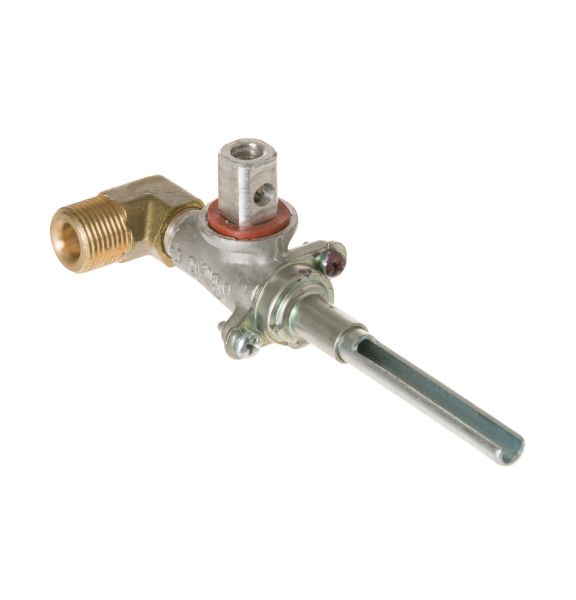
Step 5: Position New Valve: Once the area is clean and dry, the new valve can be started to be placed. The two halves of the valve should be aligned and then slid into position. Pliers might need to be employed to tighten the screws to secure the new valve.
Step 6: Verify the Valve: After the new valve has been installed, its functionality should be checked. The main gas supply should be reactivated and the new valve assessed to confirm that it operates correctly. If everything appears satisfactory, you’re finished!
Please remember, these guidelines are intended for general assistance and should always be utilized alongside the manufacturer's manual, if accessible.