
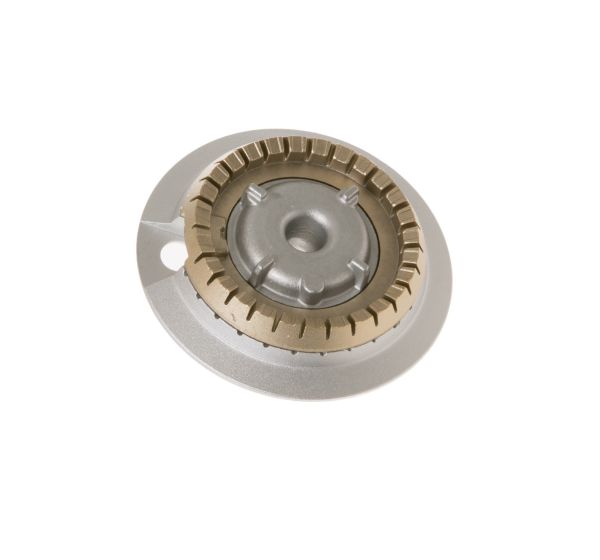
General Electric WB16T10042 Range Head Burner Assembly 12K

Special Price $137.59 Regular Price $158.95
In stock
Available Quantity:   9
SKU
WB16T10042

Product Description

The General Electric WB16T10042 Range Head Burner Assembly 12K provides reliable heat that is effective in cooking. It is made to direct the gas through its ports and is ignited with the assistance of the burner cap and it distributes a constant flame over cookware. This component is easily attached to the cooktop surface and is used to replace a burnt or damaged burner to ensure that it performs its functions appropriately.
Stove & Oven Parts, Gas Valves,
8"X7.5"X1.7"
Manufacturer
https://www.hnkparts.com/media/catalog/product/w/b/wb16t10042-71342.jpg
Write Your Own Review
You're reviewing:General Electric WB16T10042 Range Head Burner Assembly 12K
Your Rating
Customer Questions
What maintenance is required for the General Electric WB16T10042 Head Burner Assembly?

Regularly clean the burner ports and surface to prevent food debris and grease buildup that can block gas flow. Inspect for corrosion or damage and ensure proper alignment for even flame distribution. Periodic checks supports maintain efficient combustion, improve safety, and reduce the risk of uneven heating or ignition issues.

What are common issues with the General Electric WB16T10042 Burner Assembly?

  • Uneven or weak flame output due to clogged burner ports.
  • Ignition failure or delayed lighting from gas flow restrictions.
  • Inconsistent flame indicating improper combustion.
  • Burner not heating evenly because of misalignment or debris buildup.

Installation Steps

Step1: Turn off gas range supply, disconnect power source, and let stove cool completely safety

Step2: Remove grate and old burner assembly

Step3: Disconnect or lift burner head from gas orifice carefully

Step4: Align new burner with mounting points and secure

Step5: Reconnect components ensuring tight fit and no leaks

Step6: Reassemble grates and restore power/gas

Step7: Test ignition on low flame, check stability

Step8: Check for gas leaks before regular use
