Special Price
$55.81
Regular Price
$75.99
In stock
Available Quantity:
48
SKU
WB15X27280
The 
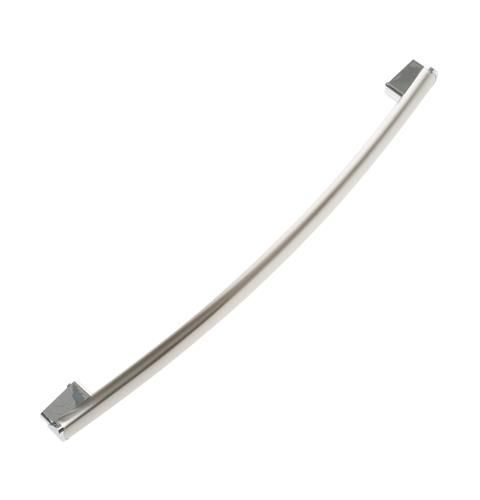
General Electric WB15X27280 Range Handle and End Cap Assembly makes it easy to open and close the oven door with a firm grip. Intended for use as a replacement part, it ensures that the ranges are functional and visually appealing. This assembly has a handle and end caps to ensure that it can be easily installed without any further adjustments. It works by offering a firm and heat resistant surface that helps in gaining a better grip while operating the oven. The better fit and its ability to withstand damage enhance the neat appearance of the range while making it safer and more convenient to use in everyday cooking.
Manufacturer
✓ This Product Replaces:
WB15T10222
This Part Fits the Following Models (46)
GE JGS760SEL3SS Gas Range Or Dual Fuel
GE PGB940SEJ7SS Free Standing Gas Range
GE Profile PGB930SEJ6SS Gas Range Or Dual Fuel
GE Profile PGB940SEJ6SS Gas Range Or Dual Fuel
GE Profile PGS930SEL3SS Gas Range Or Dual Fuel
GE Profile P2S930SEL3SS Gas Range Or Dual Fuel
GE Profile P2B940SEJ6SS Gas Range Or Dual Fuel
GE JGS760EEL1ES Gas Range Or Dual Fuel
GE JGS760EEL2ES Gas Range Or Dual Fuel
GE JGS760SEL1SS Gas Range Or Dual Fuel
GE JGS760SEL2SS Gas Range Or Dual Fuel
GE P2B940SEF1SS Gas Range Or Dual Fuel
GE PGS930EEL1ES Gas Range Or Dual Fuel
GE PGS930SEL1SS Gas Range Or Dual Fuel
GE PGS930SEL2SS Gas Range Or Dual Fuel
Showing 1-15
of 46
| Manufacturer Name: GENERAL ELECTRIC Product Number: WB15X27280 OEM Part Number: WB15X27280 Product Description: Handle And End Cap Asm |
Choose the best Home Appliance parts and supplies from HnKParts!
Same Day Shipping
Best Quality And Best Price
Wide Range of Inventory
Best Customer Service
Have More Questions or Need Help to Place The Order?
Reach us at (866)723-0907 or [email protected]
Write Your Own Review
Customer Questions
Installation Steps
Step1: Open the range door and support it securely.
Step2: Remove screws from the inner door panel.
Step3: Separate panels slightly to access the handle mounts.
Step4: Remove the old handle and end caps carefully.
Step5: Install the new assembly and secure with screws.
Step6: Reassemble the door and ensure the handle is firm.
