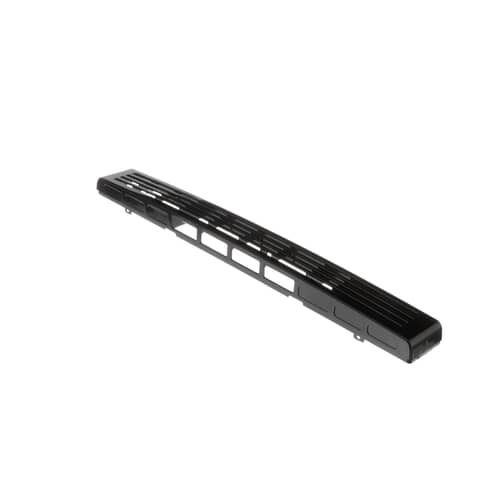
General Electric WB07X11009 Microwave Vent Grille
Special Price
$86.52
Regular Price
$102.06
In stock
Available Quantity:
62
SKU
WB07X11009
Product Description
The General Electric WB07X11009 Microwave Vent Grille allows proper airflow to keep the appliance functioning efficiently. It directs heat and steam away, preventing moisture buildup inside. By channeling air through its vents, it helps maintain internal components and prevents overheating. This grille enhances microwave longevity while ensuring stable performance. Its durable construction offers reliability, while the sleek design complements the appliance’s look. Easy installation makes replacement simple, restoring ventilation effectiveness without hassle.
Manufacturer
