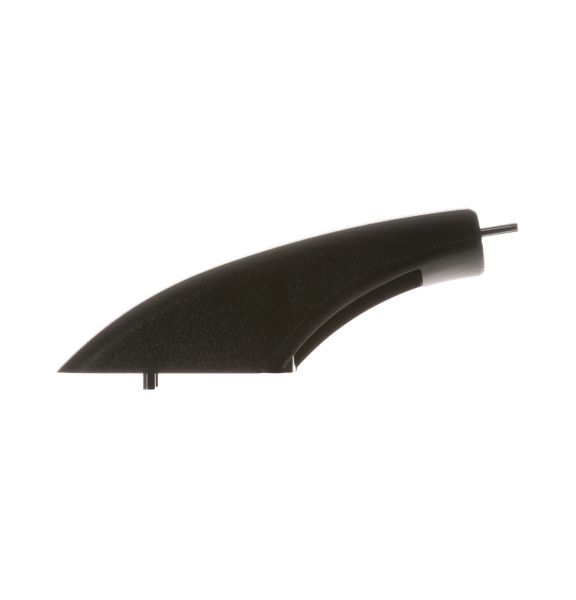
General Electric WB07X10034 Range Handle End Cap
Special Price
$19.98
Regular Price
$24.81
In stock
Available Quantity:
1
SKU
WB07X10034
Product Description
The General Electric WB07X10034 Range Handle End Cap secures terminal alignment by enclosing the outer connection point of the handle assembly during repeated access movement. Positioned at the handle end section, it connects with the adjoining fastening interfaces to maintain aligned placement across the door attachment structure. It's formed enclosure structure coordinates stable contact while maintaining consistent spacing between connected handle sections throughout repeated operational progression. By sustaining measured attachment positioning and steady coordination across secured structural points, it supports balanced handle alignment and maintains access assembly performance during normal cooking cycles.
Manufacturer
