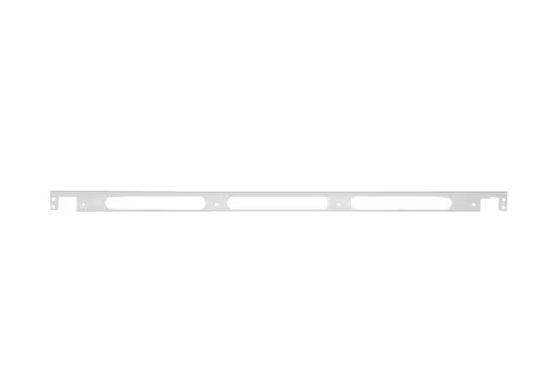
General Electric WB07K10250 Range Trim Bottom Assembly
Special Price
$17.68
Regular Price
$19.57
In stock
Available Quantity:
30
SKU
WB07K10250
Product Description
The General Electric WB07K10250 Range Trim Bottom Assembly is a structural component at the lower front, which is attached to the bottom of the appliance to form a boundary between the front panel and the surfaces that adjoin it. The design provides it with a stable position and keeps it in line with the other components. The part is designed to resist normal heat generated during the working conditions and does not change its shape under normal conditions.
Manufacturer
