Step 1: The microwave oven should be disconnected from the electrical outlet, and if needed, the clips that fasten the oven to the cabinet should be detached.
Step 2: The oven should be gently pulled away from the wall to access the rear panel.
Step 3: With a Phillips head screwdriver, the screws securing the rear panel should be carefully removed.
Step 4: The rear panel of the oven should be carefully taken off and placed aside.
Step 5: The wave guide cover situated near the fan motor should be identified. It should appear rectangular and be composed of metal.
Step 6: Employing a flat head screwdriver, the wave guide cover should be cautiously pried off and extracted from the oven.
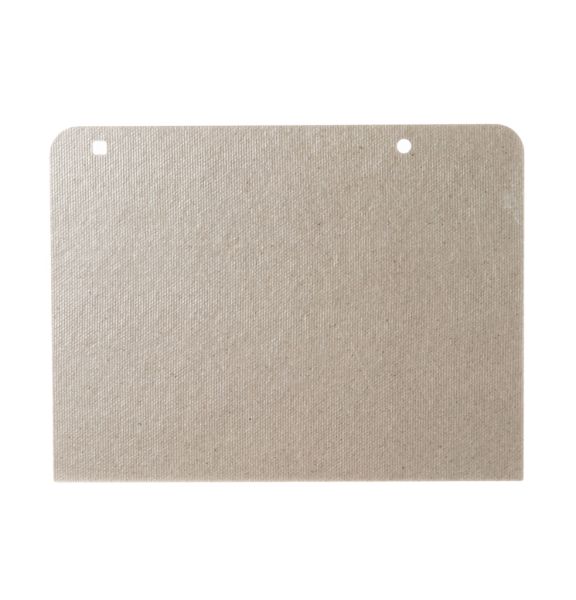
Step 7: The new GE WB06X10254 wave guide cover should be taken and positioned over the opening where the old one was fitted.
Step 8: Using the same screwdriver, the new wave guide cover should be gently pressed into position.
Step 9: The rear panel of the oven should be reattached, ensuring the screws are tightened securely.
Step 10: The oven should be carefully pushed back to its previous location and the clips should be reattached if required.
Step 11: The oven should be plugged into the wall socket, and the GE WB06X10254 wave guide cover has now been successfully swapped out.
Please note that these instructions serve as general guidance and should always be utilized alongside the manufacturer's manual, if available.