The store will not work correctly in the case when cookies are disabled.
We collect user information to provide a better user experience and protect the security of our website. By continuing to use our website, you acknowledge the use of cookies.
Step 1: The stove should be disconnected from the power source and the circuit breaker should be switched off.
Step 2: Any plastic caps or decorative trim that may be attached to the current knob should be taken off.
Step 3: A Phillips-head screwdriver should be positioned into the screw located at the center of the knob, then the screw should be loosened and taken out.
Step 4: The knob should be gently pulled to detach it from the control panel. If resistance is encountered, a flat-head screwdriver should be leveraged to pry it free.
Step 5: The back of the stove control panel should be examined. Tweezers or needle-nose pliers should be utilized to extract the metal shaft of the old knob from the panel.
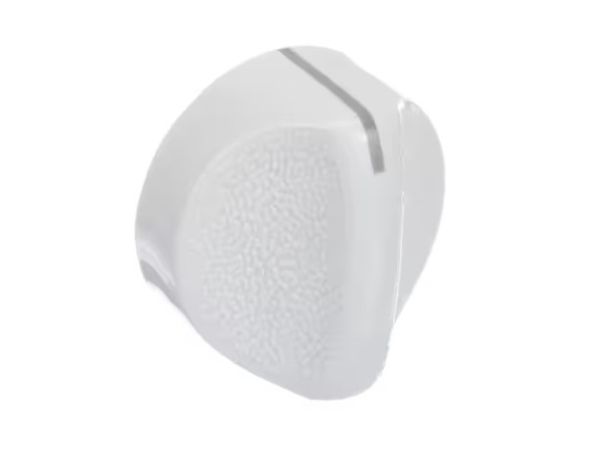
Step 6: The metal shaft of the new GE WB03X10209 knob should be placed into the opening in the control panel.
Step 7: The new knob should be fastened onto the control panel by securing the screw in the center of the knob with the Phillips-head screwdriver.
Step 8: The functionality of the new knob should be verified to ensure it operates correctly.
Step 9: The plastic caps and trim parts should be reattached if needed, and the stove should be reconnected to the power source.
Please note that these instructions are intended for general assistance and should always be utilized alongside the manufacturer's manual, if one is available.