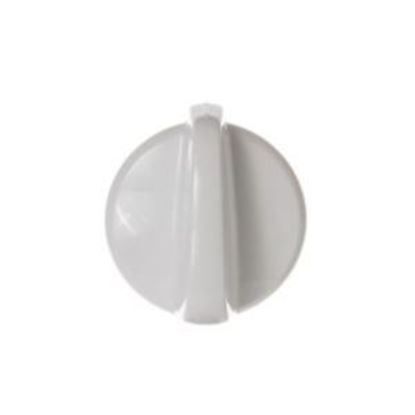
General Electric WB03K10218 Range Mini-Valve Burner Knob
$9.76
In stock
Available Quantity:
18
SKU
WB03K10218
Product Description
KNOB MINIVALVE
Manufacturer
