The store will not work correctly in the case when cookies are disabled.
We collect user information to provide a better user experience and protect the security of our website. By continuing to use our website, you acknowledge the use of cookies.
Observance of Independence day July 4th we are closed [No shipping's and deliveries ] on 07/03/2026, Orders received after 3.00pm CST on 07/02/2026 will be shipping out on Monday 07/06/2026
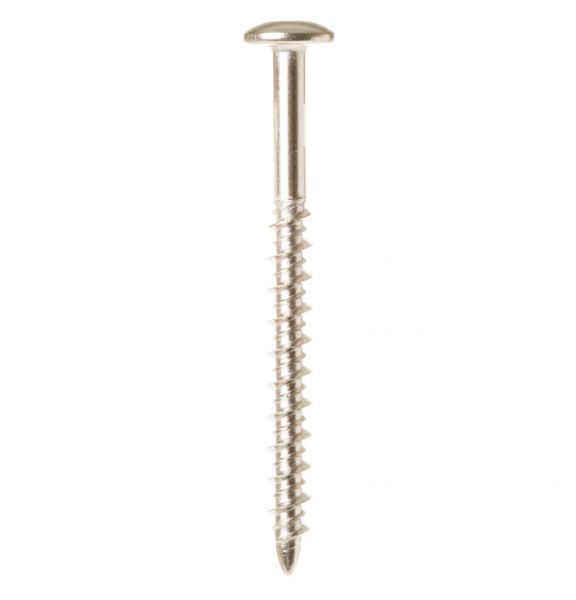
The General Electric WB02X32438 Range Screw 10-16 Plated Painted 2.15S is designed to secure structural and operational parts within an appliance assembly. It works by clamping panels, handles, or internal brackets to ensure they remain in place during the operation. The screw is threaded in design and is used to fill in pre-drilled holes to provide a solid bond with the other adjoining parts. It is mounted into specific locations and is installed in different places, like door assemblies or outer panels. It keeps parts well secured to assist in maintaining steady assembly, minimizing vibration.
Step 1: The power should be switched off - the appliance should always be disconnected from the outlet or the circuit breaker should be deactivated for safety.
Step 2: The oven control panel should be taken off - for most models, the fasteners located at the rear of the oven that secure the control panel should be unscrewed, then the panel should be slid out.
Step 3: The wiring harness should be detached - based on your model, the harnesses might need to be maneuvered aside or disconnected entirely. All wires, clips, and connectors should be extracted.
Step 4: The old part should be unscrewed and taken out - the old part should be identified and unscrewed. All screws and any additional components that may have detached with it should be kept track of.
Step 5: The new part should be placed - the guidelines provided with the new part should be adhered to in order to confirm it is correctly positioned. Extra actions, such as reinstalling a bracket or screws, may be necessitated by some models.
Step 6: The control panel should be reassembled - the wiring harness should be reconnected and the control panel should be slid back into its position before any screws are securely fastened.
Step 7: Power should be restored to the appliance - after the new part has been installed and the control panel has been reattached, the appliance can be reconnected to the outlet or the circuit breaker can be reactivated.
Step 8: The oven should be verified - the oven should be checked to confirm that the new part is functioning properly.
Please note that these instructions are intended for general reference and should always be used alongside the manufacturer's manual, if available.