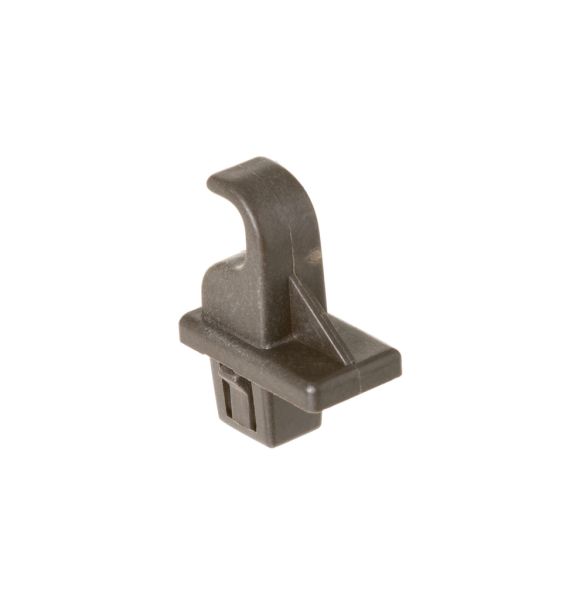
General Electric WB02X27051 Microwave Rack Support
Special Price
$8.00
Regular Price
$10.29
In stock
Available Quantity:
57
SKU
WB02X27051
Product Description
The General Electric WB02X27051 Microwave Rack Support is designed to provide a firm support to the microwave rack, providing a stable multi-level cooking. It can easily place the rack support in the appropriate holes provided at the interior part of the microwave to hold the rack firmly and at the same time ensure that heat is spread evenly on multiple dishes. This makes cooking faster, reduces the chances of spilling food and offers equal heat distribution.
Manufacturer
