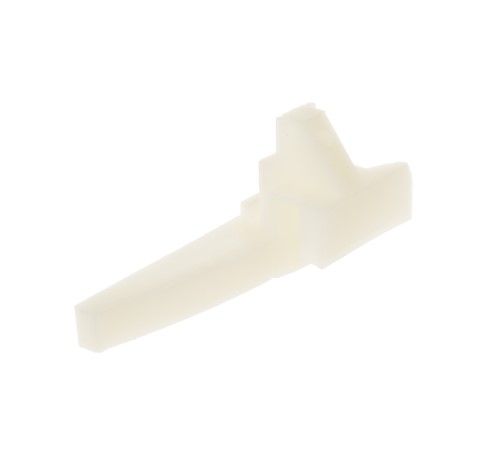
General Electric WB02K10062 Range Drawer Glider Left
Special Price
$8.26
Regular Price
$10.63
In stock
Available Quantity:
44
SKU
WB02K10062
Product Description
The General Electric WB02K10062 Range Drawer Glider Left is a support component used to enable smooth movement of the storage drawer of the appliance. It works by providing a stable sliding surface that supports the drawer to open and close evenly while maintaining proper alignment within the range cabinet. It is placed on the left side of the drawer support system to provide proper guidance and consistent performance during use. It reduces friction, prevents drawer binding, and enhances proper movement during regular access.
Manufacturer

✓ This Product Replaces:
WB02K10060