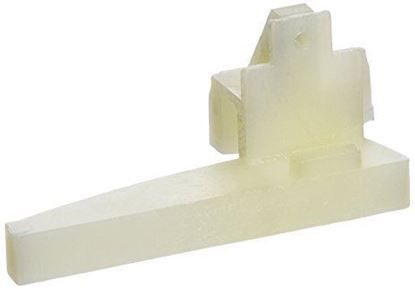
General Electric WB02K10061 Range Drawer Glide Right
Special Price
$8.26
Regular Price
$10.63
In stock
Available Quantity:
21
SKU
WB02K10061
Product Description
GLIDER DRAWER RIGHT
Manufacturer

✓ This Product Replaces:
WB02K10059