
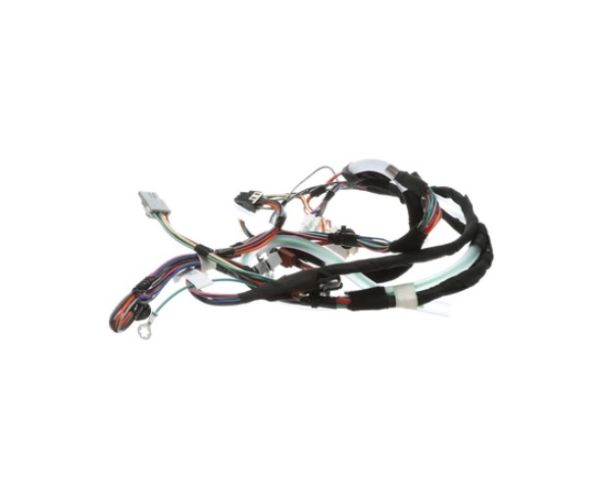
Whirlpool W11652038 Washing Machine Wire Harness

Special Price $50.42 Regular Price $79.17
In stock
Available Quantity:   151
SKU
W11652038

Product Description

The Whirlpool W11652038 Washer Wire-Harness used to make the electrical connection for the functioning of the washing machine. This is used for connections such as various parts such as the motor, control board, and sensors for effective communication. It is responsible for transmitting signals between the parts so that they can work effectively while washing the clothes.
Manufacturer

✓ This Product Replaces: W10736239, W10903237, W10903238
https://www.hnkparts.com/media/catalog/product/w/1/w11652038-99260.jpg

This Part Fits the Following Models (4)

Manufacturer Name: WHIRLPOOL
Product Number: W11652038
OEM Part Number: W11652038
Product Description: Harns-Wire

Choose the best Home Appliance parts and supplies from HNKParts!

  • Same Day Shipping

  • Best Quality And Best Price

  • Wide Range of Inventory

  • Best Customer Service

Have More Questions or Need Help to Place The Order?
Reach us at (866)723-0907 or [email protected]

Write Your Own Review
You're reviewing:Whirlpool W11652038 Washing Machine Wire Harness
Your Rating
Customer Questions
What maintenance is required for the Whirlpool W11652038 Wire Harness?

Regularly inspect the washing machine wire harness for signs of wear, fraying, or loose connections. Ensure connectors are securely attached and free from corrosion or moisture. Proper maintenance prevents electrical faults and ensures accurate operation. Always disconnect power before handling for safety.

What are common issues with the Whirlpool W11652038 Wire Harness?

  • Loose or disconnected wiring causing intermittent operation.
  • Damaged or frayed wires leading to electrical faults.
  • Corroded connectors affecting signal transmission.
  • Short circuits resulting in machine malfunction or failure.

Installation Steps

Step1: Disconnect the power supply and water inlet for safety.

Step2: Remove back panel and note wiring layout.

Step3: Detach old harness connectors carefully.

Step4: Route the new harness along the original path.

Step5: Reconnect plugs firmly and secure clips.

Step6: Reassemble the panel and test the machine cycle.

Step7: Ensure grounding is intact before restoring power.