The store will not work correctly in the case when cookies are disabled.
We collect user information to provide a better user experience and protect the security of our website. By continuing to use our website, you acknowledge the use of cookies.
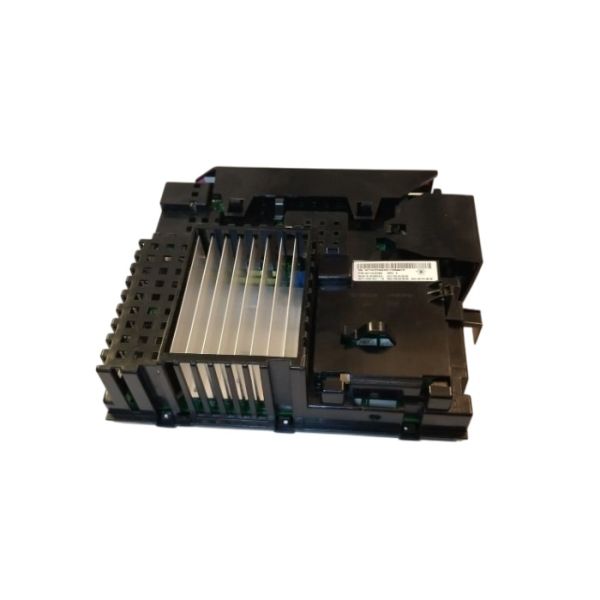
The Whirlpool W11583890 Washer Electronic Control Board responsible for receiving signals from other parts of the washer, such as the motor and water valve, to execute the cycles. The board control function like washing, rinsing, and spinning and adapt to the settings depending on the sensors and the users. It is effective in managing energy consumption and enhancing the accuracy of the washing cycle, enhancing the washing efficiency.
What maintenance is required for the Whirlpool W11583890 Electronic Control Board?
Ensure the control board area remains free from moisture and detergent residue to prevent short circuits. Check wiring harness connections for secure fit and corrosion signs. Protect the board from power surges using a stabilizer. Keep ventilation paths clear to avoid overheating.
What are common issues with the Whirlpool W11583890 Electronic Control Board?
Washer not powering on.
Cycles not starting properly.
Unresponsive control panel inputs.
Error codes appearing frequently.
Installation Steps
Step1: Disconnect the washer from the electrical outlet.
Step2: Remove the top cover by loosening the rear retaining screws.
Step3: Locate the control board housing and open the protective panel.
Step4: Carefully unplug wire connectors from the existing board.
Step5: Mount the new board into the bracket and reconnect all wiring.
Step6: Reinstall the cover and restore power to confirm normal operation.