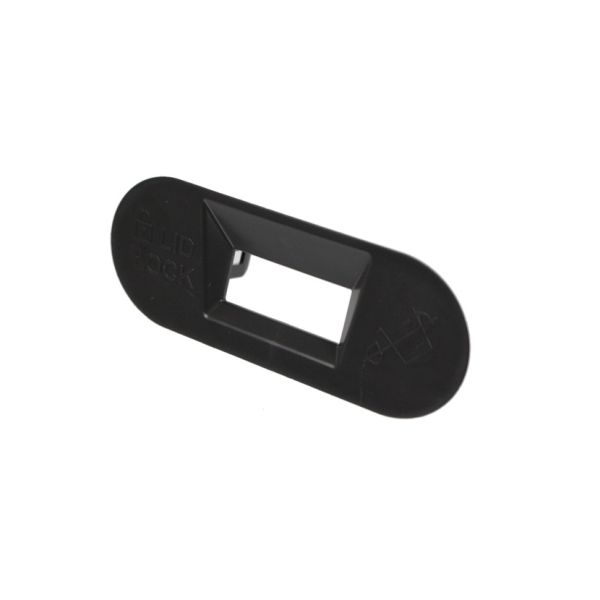
Whirlpool W11559688 Washer Lid Lock Bezel
Special Price
$15.66
Regular Price
$17.89
In stock
Available Quantity:
61
SKU
W11559688
Product Description
The Whirlpool W11559688 washer bezel is a replacement component for Whirlpool and Maytag washing machines. This is the stylish trim piece that wraps around the cycle knob on your washing machine's control panel. The bezel does not affect the washer's performance, but it adds a polished appearance and protects the knob and surrounding region from minor scratches and dents. If your washer's current bezel is broken, faded, or damaged, replacing it with a new W11559688 bezel can restore its aesthetic appeal and potentially boost its market value. Replacing a washer bezel is a rather straightforward DIY repair operation. With the right tools and some handyman skills, you can remove the old bezel and install the new one in under 30 minutes.
Manufacturer

✓ This Product Replaces:
W11215091