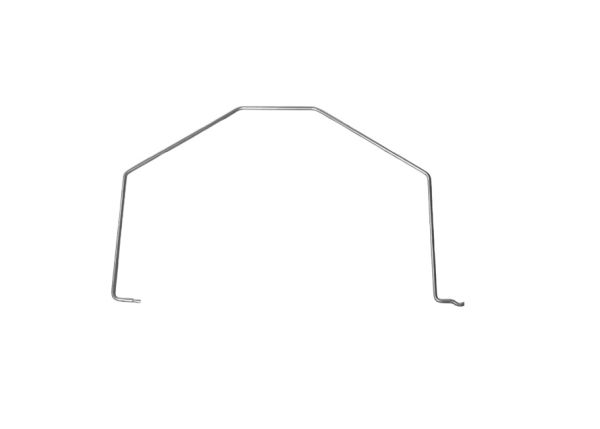
The Whirlpool W11559683 Refrigerator Arm Shut, commonly known as the ice maker shut off arm, is a small but essential part of your Whirlpool refrigerator's ice maker mechanism. This works by using a metal arm to swing up and down. When the ice bin is full, the ice level pushes the arm up, halting the flow of water to the ice maker mold. When the ice level drops, the arm swings back down, allowing water to refill the mold and produce new ice. This automatic shutoff function in your refrigerator minimizes overflow and needless water waste. The Whirlpool W11559683 Refrigerator Arm Shut is specifically developed for Whirlpool refrigerators equipped with an ice maker.
Step 1: The washing machine's power cord should be disconnected from the wall outlet and the water inlet valves should be turned off.
Step 2: The washer lid should be raised from the top and both “Hot” and “Cold” water hoses should be identified. The hoses should be detached from their respective water sources by unscrewing the fitting at the bottom of each hose. The residual water inside the hoses should be allowed to drain completely.
Step 3: A large cloth or towel should be positioned on the floor directly beneath the rear section of the washer. The service panel located on the back of the machine, directly under the lid, should be found. Several screws that must be taken out will be present. All screws should be extracted and the service panel should be gently pulled away from the washer's body.
Step 4: The current arm-shutoff should be gently lifted out of the machine, ensuring that no parts that may have become loose are lost. The new Whirlpool W11559683 arm-shutoff should be installed by reversing the process used to remove the old one. The arm-shutoff should be fastened securely by tightening all screws firmly.
Step 5: The service panel should be reattached to the rear of the washer and secured using the original screws. The “Hot” and “Cold” water hoses should be reconnected to their respective sources. The water inlet valves should be turned back on and the power cord should be plugged into the wall outlet.
Please note that these instructions are served as general guidance and should always be utilized alongside the manufacturer's manual, if available.