The Whirlpool W11545764 Dishwasher Float Switch is an essential component for protecting your dishwasher from overflows and water damage. It's a little gadget that sits at the dishwasher's base. During a cycle, the float switch rises in tandem with the water level as it fills the basin. The dishwasher's intake valve closes to stop extra water from entering when the desired water level is reached, according to a float switch. This guarantees water efficiency and guards against overflow-related dishwasher failures. The efficiency of dishwashing can be impacted by An inoperable float switch, which can cause overflowing or insufficient water levels. The W11545764 guarantees appropriate water management in your dishwasher, preventing water damage and ensuring maximum washing efficiency.
Step 1: The power supply to the washing machine should be disconnected and it should be unplugged from the electrical outlet.
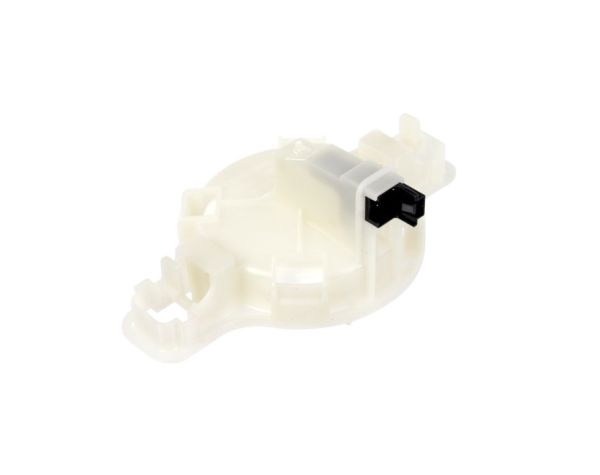
Step 2: The Float Switch located at the rear of the washer, which is attached to the motor, should be identified. It will appear as a plastic coil featuring a lever on one end.
Step 3: The two screws securing the Float Switch should be taken out.
Step 4: The wiring harness should be unplugged from the switch and subsequently it should be extracted from the machine.
Step 5: The new Float Switch should be grabbed and the wiring harness should be connected to it.
Step 6: The Float Switch should be positioned correctly and the two screws that previously secured it should be tightened.
Step 7: The washer should be reconnected to the electrical outlet and the power supply should be restored.
Step 8: The operation of the machine should be verified to ensure the new Float Switch functions correctly.
Please be aware that these instructions are served as general guidance and should always be utilized alongside the manufacturer's manual, if it is accessible.