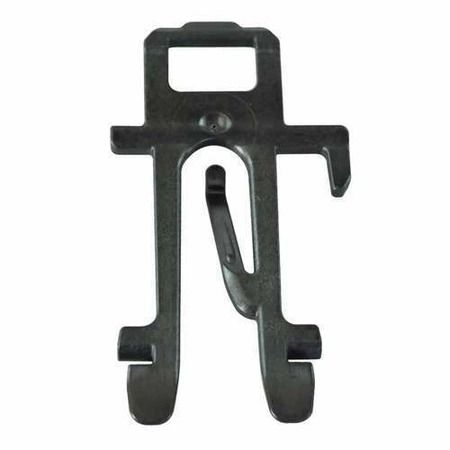
Whirlpool W11545309 Door Latch Strike help keep the door closed while the dishwasher is in use. It work by connecting with the door latch to ensure that dishwasher door remains closed and locked during the washing process. When the door is shut, latch strike comes into contact with the catch to avoid the door from being opened while the machine is operating. This part is essential in ensuring safety and efficiency in the performance of the system to prevent leakage or disruption. It also helps to maintain the cycles and makes the energy efficiency better when the door remains closed.
Step 1: The power cord is detached from the outlet and the hot and cold water supply valves for the washing machine are deactivated.
Step 2: The hoses are unfastened from the rear of the washer.
Step 3: The two screws are taken out from the back of the washer that hold it to the floor.
Step 4: The washer is gently maneuvered away from the wall and a flat board or another object approximately four inches in height is positioned beneath it to enable safe tilting backward.
Step 5: A wrench is employed to loosen and detach the nuts from the retaining bolts linking the washer to the drain hose and the water supply hoses.
Step 6: The washer is elevated off the board and relocated out of the way.
Step 7: The new washer is inserted into the opening and the retaining bolts to the drain hose and the water supply hoses are fastened with the wrench. They are tightened securely but overtightening is avoided.
Step 8: The washer is adjusted using the board and tilted forward until the back of the washer aligns with the wall.
Step 9: The washer is fastened to the floor with the mounting screws.
Step 10: The power cord is reconnected and the hoses are reattached to the back of the washer.
Step 11: The water supply valves are activated and a cycle is initiated to verify the machine's operation.
Please remember that these instructions are served as general guidance and should always be utilized alongside the manufacturer's manual, if one is available.