
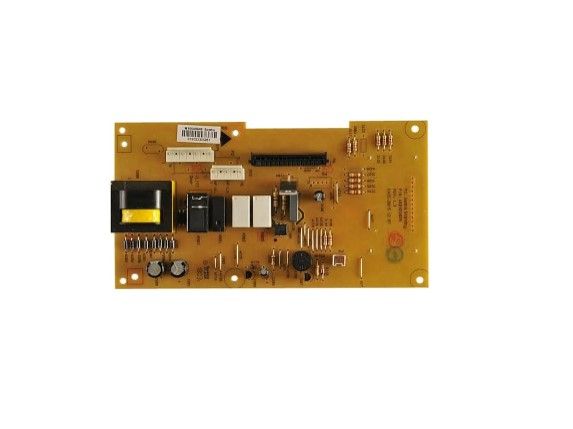
Whirlpool W11544456 Microwave Control Board

Special Price $75.84 Regular Price $102.24
In stock
Available Quantity:   70
SKU
W11544456

Product Description

The Whirlpool W11544456 Microwave Control Board receive signal from buttons and sensors, and then sends instructions to the other parts of the microwave for heating, cooking, and timing. When the control board gets a signal from the user, it switches on different microwave systems such as the magnetron, fan, and display to accomplish the tasks. This control board assists in maintaining a tight control on the cooking time and temperature thus improving the cooking process and safety.
Manufacturer

✓ This Product Replaces: W10849846
https://www.hnkparts.com/media/catalog/product/w/1/w11544456-63084.jpg
Manufacturer Name: WHIRLPOOL
Product Number: W11544456
OEM Part Number: W11544456
Product Description: Acu Pcba Src Asy For W10849846

Choose the best Home Appliance parts and supplies from HnKParts!

  • Same Day Shipping

  • Best Quality And Best Price

  • Wide Range of Inventory

  • Best Customer Service

Have More Questions or Need Help to Place The Order?
Reach us at (866)723-0907 or [email protected]

Write Your Own Review
You're reviewing:Whirlpool W11544456 Microwave Control Board
Your Rating
Customer Questions
What maintenance is required for the Whirlpool W11544456 Control Board?

Keep the board area dry and free from residue or debris. Ensure all connectors are fully seated. Wipe the surface gently to prevent buildup. Test multiple functions to confirm accurate responses and accurate operation across all cycles.

What are common issues with the Whirlpool W11544456 Control Board?

  • Selected functions not activating.
  • Display showing incorrect cycle status.
  • Cycles stopping unexpectedly.
  • Delayed response after inputs.

Installation Steps

Step1: Unplug the microwave and ensure it is fully powered off.

Step2: Remove the outer casing screws and lift off the cover.

Step3: Carefully disconnect wiring from the old control board.

Step4: Place the new control board and reconnect all harnesses securely.

Step5: Reattach the microwave cover and tighten screws.

Step6: Plug in and run a short test cycle to ensure functionality.