
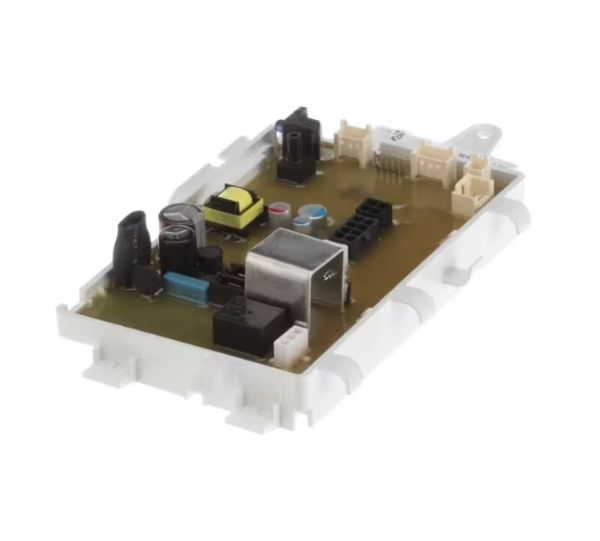
Whirlpool W11543998 Washer Electronic Control Board

Special Price $210.08 Regular Price $217.95
In stock
Available Quantity:   81
SKU
W11543998

Product Description

The Whirlpool W11543998 Washer Electronic Control Board responsible for controlling the washer’s operations, including cycles, water, and spin speed. It receives user-selected settings and sends signals to the respective parts to enable proper functioning. It controls the motor activity and also supervises the sensors to ensure that wash cycles are well coordinated hence improving efficiency. This control board is also responsible for the smooth running of the washing process and enhances the efficiency of the washing process.
Manufacturer

https://www.hnkparts.com/media/catalog/product/w/1/w11543998-35147.jpg

This Part Fits the Following Models (2)

Manufacturer Name: WHIRLPOOL
Product Number: W11543998
OEM Part Number: W11543998
Product Description: Cntrl-Elec+Core

Choose the best Home Appliance parts and supplies from HnKParts!

  • Same Day Shipping

  • Best Quality And Best Price

  • Wide Range of Inventory

  • Best Customer Service

Have More Questions or Need Help to Place The Order?
Reach us at (866)723-0907 or [email protected]

Write Your Own Review
You're reviewing:Whirlpool W11543998 Washer Electronic Control Board
Your Rating
Customer Questions
What maintenance is required for the Whirlpool W11543998 Electronic Control Board?

Keep the board dry and free from detergent residue. Ensure all connectors are secure. Test multiple cycles and options to confirm correct operation. Monitor for delayed or skipped commands to maintain accurate washing performance.

What are common issues with the Whirlpool W11543998 Electronic Control Board?

  • Cycles not executing correctly.
  • Settings failing to register.
  • Delayed response to commands.
  • Error codes appearing intermittently.

Installation Steps

Step1: Unplug the washer for safety.

Step2: Remove the top panel to access the control board.

Step3: Disconnect wiring harnesses from the old board.

Step4: Remove mounting screws and take out the old board.

Step5: Install the new board and reconnect all wires.

Step6: Reattach the panel, plug in, and run a test cycle.