
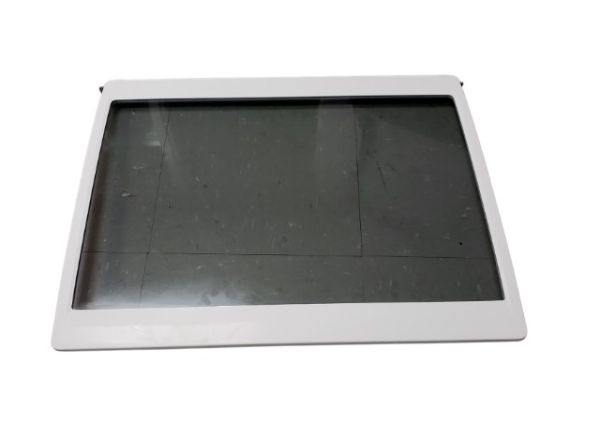
Whirlpool W11513252 washer Lid Assembly

Special Price $296.55 Regular Price $322.95
In stock
Available Quantity:   55
SKU
W11513252

Product Description

This Whirlpool W11513252 Lid Assembly is used that ensure the proper and safe functioning of the washer. This lid has longevity and ensures there is no water leakage during the wash cycle makes safe to use. Designed for simple installation and can be compatible to effectively bring back the functionality of the appliance. The lid operates by locking the washer’s mechanism and only starts the washing process when the lid is closed and avoids any interruption.
Manufacturer

https://www.hnkparts.com/media/catalog/product/w/1/w11513252-35240.jpg

This Part Fits the Following Models (1)

Manufacturer Name: WHIRLPOOL
Product Number: W11513252
OEM Part Number: W11513252
Product Description: Lid

Choose the best Home Appliance parts and supplies from HNKParts!

  • Same Day Shipping

  • Best Quality And Best Price

  • Wide Range of Inventory

  • Best Customer Service

Have More Questions or Need Help to Place The Order?
Reach us at (866)723-0907 or [email protected]

Write Your Own Review
You're reviewing:Whirlpool W11513252 washer Lid Assembly
Your Rating
Customer Questions
What maintenance is required for the Whirlpool W11513252 Lid Assembly?

Regularly inspect the washer lid assembly for cracks or loose hinges. Clean around the latch and seal to prevent debris buildup. Lubricate hinges if needed and ensure proper alignment to avoid operational issues and maintain safety during washer use.

What are common issues with the Whirlpool W11513252 Lid Assembly?

  • Lid not closing properly.
  • Hinge or latch damage.
  • Loose or broken handle.
  • Washer not starting due to faulty lid switch.

Installation Steps

Step1: Unplug the washer, disconnect power at the outlet, and shut off the water supply for safety before starting.

Step2: Open the lid and remove old lid assembly screws or hinge pins carefully.

Step3: Disconnect wiring harness from lid switch, noting orientation and securing loose connectors.

Step4: Align the new lid assembly and secure with screws/hinges, ensuring proper alignment and a tight fit.

Step5: Reconnect wiring, close lid, restore power, and test cycle with a short wash to confirm operation.