The store will not work correctly in the case when cookies are disabled.
We collect user information to provide a better user experience and protect the security of our website. By continuing to use our website, you acknowledge the use of cookies.
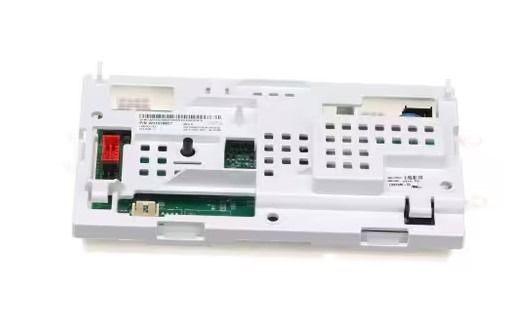
The Whirlpool W11608056 Washer Electronic Control Board is used to control the washing cycles, water temperature, and the motor functions to provide better performance. With the help of electronics, it is possible to maintain energy consumption at a low level and enhance the washing quality. This control board also increase the durability of the component as it minimizes the probability of failure, making laundry chores more efficient and dependable.
What maintenance is required for the Whirlpool W11608056 Electronic Control Board?
Disconnect power before accessing the control board and keep the area dry to prevent electrical damage. Inspect wire harness connections for looseness or corrosion. Ensure proper ventilation inside the control housing to reduce overheating risk. Using a surge protector can help protect sensitive electronic components.
What are common issues with the Whirlpool W11608056 Electronic Control Board?
Washer does not start cycles.
Error codes displayed incorrectly.
Buttons or lights fail.
Cycle selection does not function.
Installation Steps
Step1: Unplug the washer and turn off the water supply.
Step2: Remove the rear or top control panel screws to access the board.
Step3: Disconnect all wire harnesses carefully from the old control board.
Step4: Release mounting clips or screws and remove the board.
Step5: Install the new board, reconnect wiring securely, reassemble the panel, and restore power.