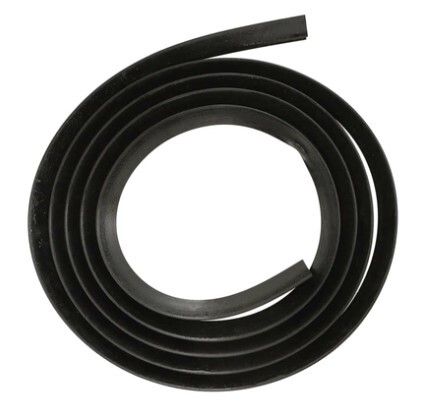
The Whirlpool W11483553 Dishwasher Gasket is crafted for compatibility with Whirlpool dishwashers, This strong gasket is designed to provide a secure seal, effectively preventing leaks and water damage. It's an easy-to-use option to get your dishwasher working again because of its simple installation procedure. Constructed from premium materials, this gasket ensures long-lasting durability, promising to withstand the demands of daily use. Whirlpool, renowned for its commitment to quality and innovation, delivers a dependable replacement part that surpasses expectations.
The Whirlpool W11483553 Dishwasher Gasket is made especially for Whirlpool dishwashers and ensures a tight seal to stop leaks and water damage. It is made to endure and survive the rigors of regular use because it is composed of strong components. The Whirlpool Dishwasher Gasket is simple to install and offers a hassle-free way to replace worn-out or damaged gaskets, improving the performance and effectiveness of your dishwasher.
Key Features for Whirlpool Dishwasher Gasket W11483553:
Ensures a tight seal to prevent leaks
Made from durable materials for long-lasting performance
Step 1: The appliance is disconnected from its electrical outlet.
Step 2: The door is opened to find the existing gasket. Any screws and fasteners that hold it in position are taken out.
Step 3: The old gasket is gently detached and put aside.
Step 4: The surface where the new gasket will be placed is wiped down with a moist cloth to eliminate any dirt.
Step 5: The door's opening is measured and assessed against the replacement gasket.
Step 6: The new gasket is inserted into the opening, ensuring that it is centered and fits tightly.
Step 7: The gasket is fastened securely using the provided screws or fasteners.
Step 8: The installation is verified by closing the door and inspecting for any gaps or openings between the gasket and the appliance.
Step 9: The appliance is reconnected to its electrical outlet.
Please remember, these instructions are served as general guidance and should always be referenced alongside the manufacturer's manual, if one is available.