The store will not work correctly in the case when cookies are disabled.
We collect user information to provide a better user experience and protect the security of our website. By continuing to use our website, you acknowledge the use of cookies.
The 
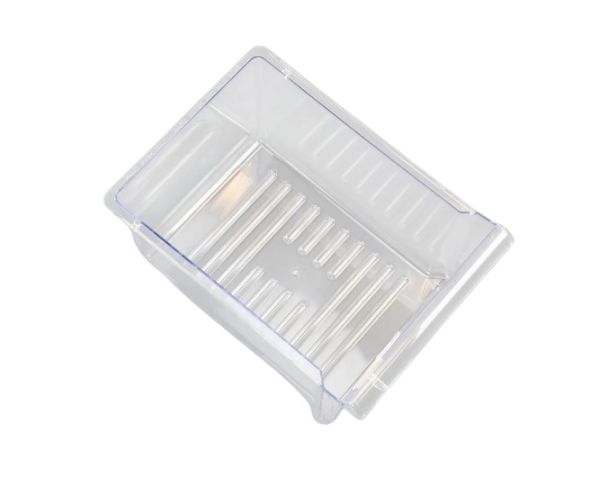
Whirlpool W11475670 Refrigerator Crisper Pan maintains optimal humidity by containing moisture, thus extending produce freshness. The pan slides into designated refrigerator slots, providing a controlled environment. Airflow around the stored items is regulated, preventing excessive condensation. This results in less food waste and keeps fruits and vegetables fresher for longer.
What maintenance is required for the Whirlpool W11475670 Crisper Pan?
Regularly wipe the Refrigerator crisper pan with a soft cloth and mild detergent to prevent food residue buildup. Avoid using abrasive cleaners that can scratch the surface. Check for cracks or leaks periodically and handle carefully to prevent damage during removal or cleaning.
What are common issues with the Whirlpool W11475670 Crisper Pan?
Cracks or chips from heavy impact.
Leaks causing moisture buildup in the Refrigerator.
Warping due to uneven weight distribution.
Sticking or difficult removal from the crisper drawer.
Installation Steps
Step 1: The dishwasher should be disconnected from the electrical outlet, and any water supplies linked to the appliance should be shut off.
Step 2: The screws that fasten the toe kick plate to the base of the dishwasher should be taken out.
Step 3: The toe kick plate should be removed and the PAN-CRISPR beneath the appliance should be found.
Step 4: The flathead screwdriver should be utilized to detach the mounting bracket that secures the PAN-CRISPR.
Step 5: Subsequently, the Phillips head screwdriver should be employed to take out the screws that hold the PAN-CRISPR in position.
Step 6: The PAN-CRISPR should be extracted from the dishwasher and disposed of.
Step 7: The new PAN-CRISPR should be placed into the dishwasher, ensuring it is correctly positioned.
Step 8: The PAN-CRISPR should be fastened in place using the screws and mounting bracket.
Step 9: The toe kick plate should be reattached and secured with the screws.
Step 10: At last, the water supplies should be turned on and the dishwasher should be reconnected to the power outlet.
Your dishwasher is now set for operation with a brand new PAN-CRISPR!
Please remember, these instructions serve as general guidance and should always be utilized alongside the manufacturer's manual, if accessible.