
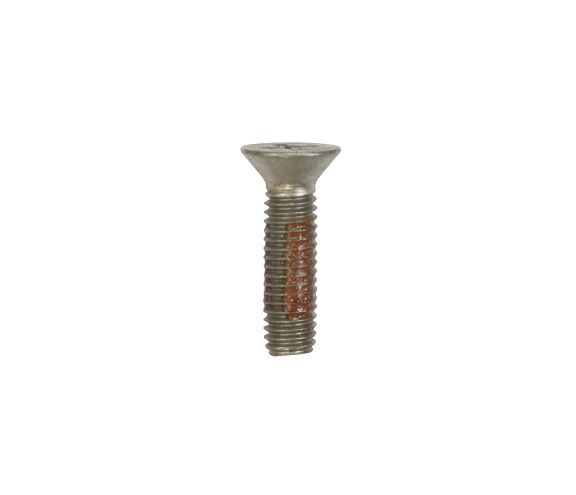
Whirlpool W11474472 Refrigerator Screw

Special Price $3.62 Regular Price $5.30
In stock
Available Quantity:   47
SKU
W11474472
✓ This Product Replaces: 489282, WP489282

Product Description

The Whirlpool W11474472 is a seemingly effortless component, but it performs an essential function in safeguarding the proper functionality and stability of your Whirlpool refrigerator. This screw is intended for usage in various sections of your refrigerator.  They are frequently utilized to secure shelves, crisper drawers, hinge covers, and other interior components.These screws are threaded into pre-drilled holes on the refrigerator cabinet or the individual components during installation or assembly.  Using the proper screw size and type promotes a secure fit and prevents shelves, drawers, and other parts from wobbling or moving.  Loose or poorly sized screws can cause aggravation and even harm to the contents of your refrigerator.

Manufacturer

https://www.hnkparts.com/media/catalog/product/w/1/w11474472-55284.jpg
Manufacturer Name: WHIRLPOOL
Product Number: W11474472
OEM Part Number: W11474472
Product Description: Screw

Choose the best Home Appliance parts and supplies from HnKParts!

  • Same Day Shipping

  • Best Quality And Best Price

  • Wide Range of Inventory

  • Best Customer Service

Have More Questions or Need Help to Place The Order?
Reach us at (866)723-0907 or [email protected]

Write Your Own Review
You're reviewing:Whirlpool W11474472 Refrigerator Screw
Your Rating
Customer Questions
No Questions

Installation Steps

Step 1: Your appliance should be disconnected from the power supply and the water supply should be turned off if required.

Step 2: The screws securing the screwdriver should be taken out, utilizing a Phillips head screwdriver.

Step 3: The screwdriver should be withdrawn from the appliance and checked for any damage or significant wear.

Step 4: If needed, a replacement screwdriver that is suitable for your appliance model should be acquired.

Step 5: The new screwdriver should be positioned into the appliance, ensuring the holes of the screwdriver are aligned with those of the appliance.

Step 6: The screwdriver should be fastened using the screws that were removed in step 2.

Step 7: The appliance should be reconnected to the power source and the water supply should be turned on if required.

Step 8: The screwdriver should be verified to ensure it is operating correctly.

Step 9: Your newly installed screwdriver should be enjoyed!

Please note, these instructions are intended for general reference and should always be used alongside the manufacturer's manual, if available.