The store will not work correctly in the case when cookies are disabled.
We collect user information to provide a better user experience and protect the security of our website. By continuing to use our website, you acknowledge the use of cookies.
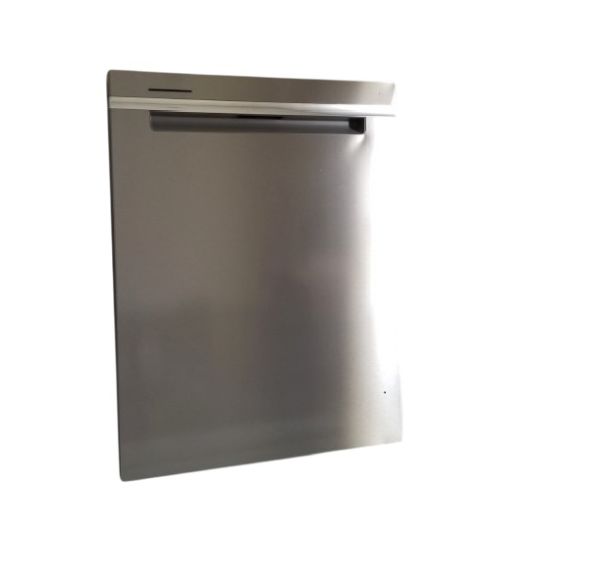
The Whirlpool W11461682 Outer Door Panel used to fit onto the dishwasher and protects the exterior part of the appliance while giving it a sleek appearance. Made from quality material, it is durable and does not easily damage out due to frequent use. The panel assists in reducing noise levels and makes the kitchen environment less noisy. It is designed to fit better and can be easily installed to restore the dishwasher’s appearance.
What maintenance is required for the Whirlpool W11461682 Outer Door Panel?
Wipe the panel regularly with a soft cloth and mild cleaner to remove fingerprints, spills, and smudges. Check that all mounting screws are tight and the panel sits flush. Inspect for dents or warping that may affect door alignment. Avoid using abrasive cleaners that could scratch the surface.
What are common issues with the Whirlpool W11461682 Outer Door Panel?
Door not closing evenly.
Edges are becoming misaligned.
Difficulty removing or reinstalling the panel.
Scratches affecting appearance.
Installation Steps
Step1: Disconnect the power and water supply to the dishwasher.
Step2: Open the door and remove inner panel screws to access the outer panel.
Step3: Lift off the old outer door panel carefully.
Step4: Align the new panel with the door frame and secure the screws.
Step5: Check that the door opens and closes smoothly.
Step6: Reconnect power and run a short cycle to verify operation.