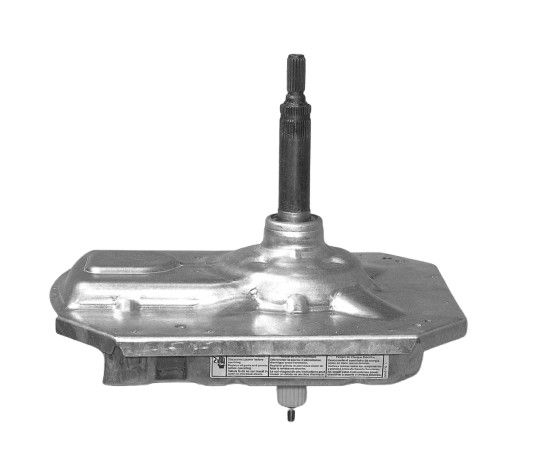
Whirlpool W11454372 Washer Gear Case
Special Price
$163.66
Regular Price
$289.94
In stock
Available Quantity:
467
SKU
W11454372
Product Description
The Whirlpool W11454372 Washer Gear Case is used to transmit the motor’s power to the washer drum. It operates through the conversion of the rotational energy from the motor into the right force required to turn the drum for washing. In this capacity, the gear case contribute to a smooth and regular movement, which in turn decreases the friction on other components. It also ensures that the washer does not develop mechanical problems and also reduces the level of noise produced when in use.
Manufacturer

✓ This Product Replaces:
W10469846, W10469845, W10739660, W10735106, W10806333, W10772256, W11048203, W11035747