Whirlpool W11417192 Range Chimney

Special Price $115.42 Regular Price $225.68
In stock
Available Quantity:   8
SKU
W11417192

Product Description

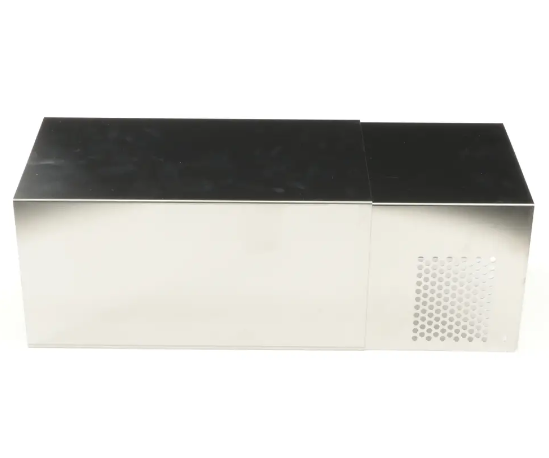
The Whirlpool W11417192 Range Chimney is an essential kitchen accessory that effectively vents cooking smoke, steam, and aromas. This chimney is designed for longevity and performance, ensuring a clean and fresh cooking atmosphere. Its elegant form blends easily with your kitchen decor, providing a touch of refinement. This range chimney is suitable for use with a variety of culinary appliances, including gas and electric ranges, and offers diverse functionality. One of its most noticeable features is its powerful ventilation system, which effectively removes airborne oil and cooking smells, thereby maintaining air quality and decreasing residual aromas. Furthermore, the Whirlpool W11417192 Range Chimney offers a safer cooking environment by minimizing the buildup of dangerous pollutants. 

Lights & Lamps,
Manufacturer
✓ This Product Replaces: W10350864, W10350865, WPW10350864, WPW10350865, W11354650
https://www.hnkparts.com/media/catalog/product/w/1/w11417192_whirlpool_hnkparts.png
Manufacturer Name: WHIRLPOOL
Product Number: W11417192
OEM Part Number: W11417192
Product Description: Chimney

Choose the best Home Appliance parts and supplies from HnKParts!

  • Same Day Shipping

  • Best Quality And Best Price

  • Wide Range of Inventory

  • Best Customer Service

Have More Questions or Need Help to Place The Order?
Reach us at (866)723-0907 or [email protected]

Write Your Own Review
You're reviewing:Whirlpool W11417192 Range Chimney
Your Rating
Customer Questions
No Questions

Installation Steps

Step 1: Disconnect power to the hood. Prior to commencing any work, it must be ensured that the power to the hood is entirely disabled. This is essential for safety and must not be neglected.

Step 2: Take out the old switch. A Phillips/flathead screwdriver should be employed to detach the mounting screws and the old switch should be gently extracted. An eye should be kept on all the wiring to remember where each wire connects later.

Step 3: Verify the new switch. A multimeter should be utilized to check the new switch to confirm it is functioning correctly.

Step 4: Attach the wires. With wire strippers, about ¼ inch of insulation should be removed from the end of each wire. Each colored wire should be aligned with the matching color terminal on the rear of the new switch. The wires should be fastened using the screws included.

Step 5: Position the new switch. The new switch should be gently inserted into its designated spot and secured with the existing mounting screws.

Step 6: Evaluate the switch. Power should be restored to the hood and the switch should be checked. If it operates as intended, you’re good to go! If it does not, your connections should be re-examined and an attempt should be made again.

Please note that these instructions are served as general advice and should always be utilized alongside the manufacturer's manual, if available.