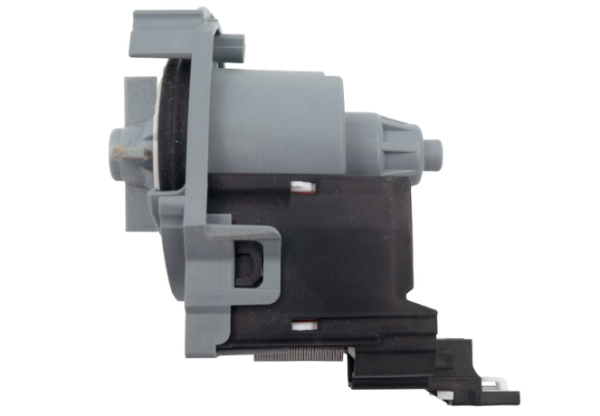
The Whirlpool W11412291 Dishwasher Drain Pump efficiently removes wastewater, ensuring smooth operation. It uses an impeller to push water through the drain hose. This process prevents clogs and ensures proper drainage after each wash cycle. Designed for durability, it enhances dishwasher performance while reducing maintenance needs. Reliable operation helps prevent water buildup, protecting kitchen floors from leaks.
Step 1: To begin, the appliance should be disconnected from the power supply prior to starting the repair.
Step 2: Then, the appliance should be tilted forward to find the pump drain located at the bottom.
Step 3: After locating the pump drain, the two housing screws should be removed utilizing a Phillips screwdriver.
Step 4: Carefully, the housing cover should be lifted off the drain pump and placed aside.
Step 5: Next, the four mounting screws that secure the drain pump should be taken out using a Phillips screwdriver.
Step 6: The old drain pump should be removed from the appliance and set aside.
Step 7: The new pump-drain should be inserted into the appliance, making sure the outlet nozzle is oriented downwards.
Step 8: Then, the new pump-drain should be fastened by reinserting the four mounting screws.
Step 9: The two-wire connector should be reattached to the motor.
Step 10: Lastly, the housing cover should be put back on and secured with the two screws.
Please be aware that these instructions are served as general guidance and should always be followed in conjunction with the manufacturer's manual, if available.