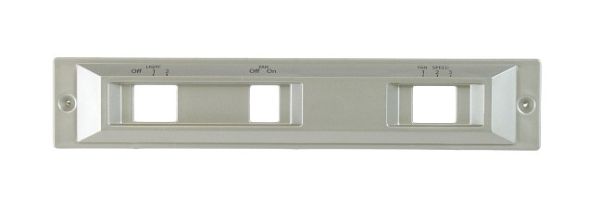
Whirlpool W11387938 Range Hood Control Housing Panel
Special Price
$83.11
Regular Price
$106.95
In stock
Available Quantity:
72
SKU
W11387938
Product Description
Whirlpool W11387938 Range Control Housing is intended to accommodate the control board and other wiring connections. This part also ensures that the electrical components are enclosed and arranged properly to enhance their functionality and it serves as the purpose of supporting the control panel and enabling easier control of the temperature and other features of the range and it can make sure that the range works as it should without any hitches and extend the longevity of the appliance.
Manufacturer

✓ This Product Replaces:
W10370649, WPW10370649