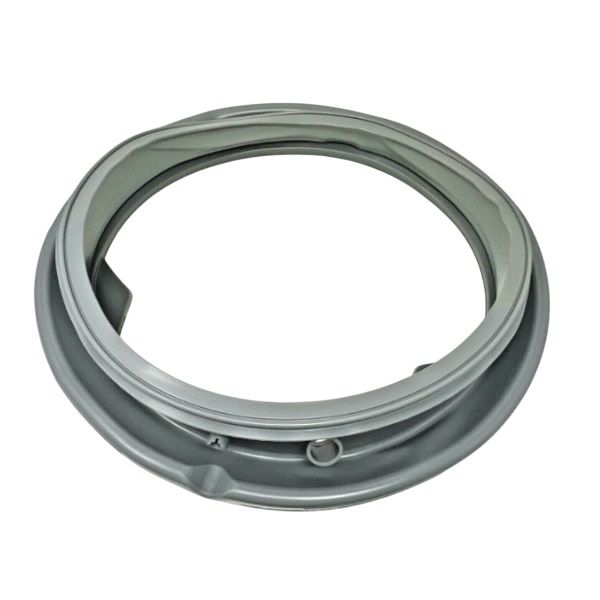
The Whirlpool W11384425 Washing Machine Bellow is an important component in your washing machine that serves as a seal around the door opening. It is normally composed of tough rubber or plastic and serves as a waterproof barrier between the washing drum and the machine's exterior. During a wash cycle, the bellow expands and contracts as the drum rotates and water fills the tub. This provides a tight seal that keeps water from leaking out of the washer and causing damage in the surrounding region. A worn-out or damaged bellows can create a variety of issues. Hear odd splashing sounds. Excess moisture from a ripped bellow can often cause mold or mildew to form around the door opening. Replacing a broken bellow with the W11384425 guarantees.
Step 1: Disconnect the Washer. The washer must be unplugged from the electrical outlet and the water supply must be shut off.
Step 2: Remove the Water Line. The water line that links the washer to the water source must be uncoupled and the washer must be shifted aside.
Step 3: Remove the Old Bellow. To reach the bellow, the screws situated around the perimeter of the washer tub must be taken out. After all screws have been taken out, the old bellow must be identified and disposed of.
Step 4: Install the New Bellow. The new bellow must be positioned correctly and fastened using the same screws that secured the old one.
Step 5: Reconnect the Water Line. The water line must be reattached to the washer and it must be ensured that it is tightly connected.
Step 6: Reconnect the Washer. The washer must be reinserted into the power outlet and the connection must be verified to confirm it is functioning correctly.
Please note that these instructions serve as general guidance and should always be utilized alongside the manufacturer's manual, if one is available.