Special Price
$105.99
Regular Price
$197.57
In stock
Available Quantity:
78
SKU
W11378944
The 
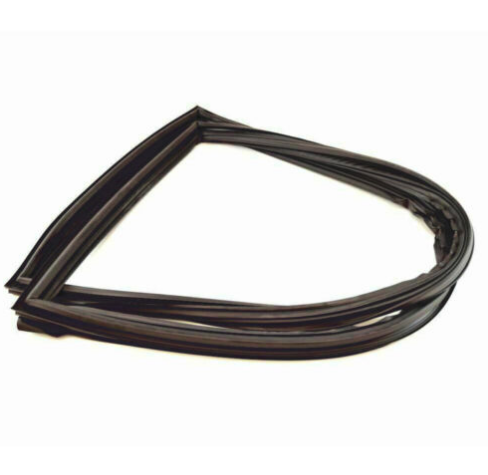
Whirlpool W11378944 Refrigerator Door Gasket helps to effectively shut the door so that cold air cannot get in and warm air cannot get out. It ensures that there is no leakage of the air inside and also reduces the workload of the compressor and also helps to maintain the freshness of the food and to ensure that the temperature does not rise or drop drastically while using the part.
Manufacturer
✓ This Product Replaces:
67006301, W10165978, W10163898, W10435969, WPW10435969, W10830065
This Part Fits the Following Models (235)
Maytag MFI2670XEW0 Bottom-Mount Refrigerator
Maytag MFI2665XEW3 Bottom-Mount Refrigerator
Maytag MFI2665XEW0 Bottom-Mount Refrigerator
Maytag MFI2665XEW1 Bottom-Mount Refrigerator
Maytag MFI2665XEW5 Bottom-Mount Refrigerator
Maytag MFI2665XEW4 Bottom-Mount Refrigerator
Maytag MFI2665XEW7 Bottom-Mount Refrigerator
Maytag MFI2670XEB5 Bottom-Mount Refrigerator
Maytag MFI2670XEB4 Bottom-Mount Refrigerator
Maytag MFI2670XEW8 Refrigerator
Maytag MFI2665XEM0 Bottom-Mount Refrigerator
Maytag MFI2665XEM1 Bottom-Mount Refrigerator
Maytag MFI2665XEM3 Bottom-Mount Refrigerator
Maytag MFI2569VEM10 Bottom-Mount Refrigerator
Maytag MFI2569VEM1 Bottom-Mount Refrigerator
Showing 1-15
of 235
| Manufacturer Name: WHIRLPOOL Product Number: W11378944 OEM Part Number: W11378944 Product Description: Gasket |
Choose the best Home Appliance parts and supplies from HnKParts!
Same Day Shipping
Best Quality And Best Price
Wide Range of Inventory
Best Customer Service
Have More Questions or Need Help to Place The Order?
Reach us at (866)723-0907 or [email protected]
Write Your Own Review
Customer Questions
Installation Steps
Step1: Unplug the refrigerator to avoid electrical risk.
Step2: Open the door and pull the old gasket away from the retaining channel.
Step3: Clean the gasket groove thoroughly to remove residue or moisture.
Step4: Press the new gasket firmly into the channel along all edges.
Step5: Check alignment around corners to ensure a tight door seal.
Step6: Restore power and close the door to confirm proper sealing.
