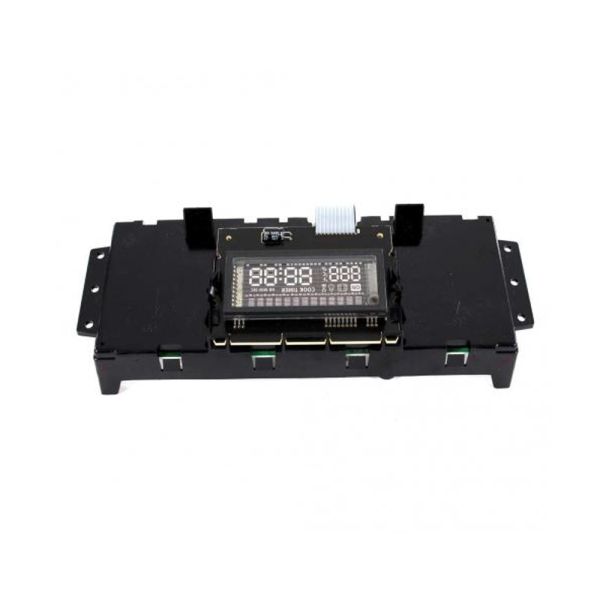
Whirlpool W11308431 Range Electronic Control Board W/Display
Special Price
$197.09
Regular Price
$237.95
In stock
Available Quantity:
62
SKU
W11308431
Product Description
The Whirlpool W11308431 Range Electronic Control Board regulates temperature, burner, and heating cycle of the oven based on the signals received from different sensors. It is possible to control the cooking process and its intensity to the required level. In this way, it assists in controlling the appliance’s operations and enables the user to have an easier and more accurate way of preparing meals and using the appliance.
Manufacturer

✓ This Product Replaces:
W10871200