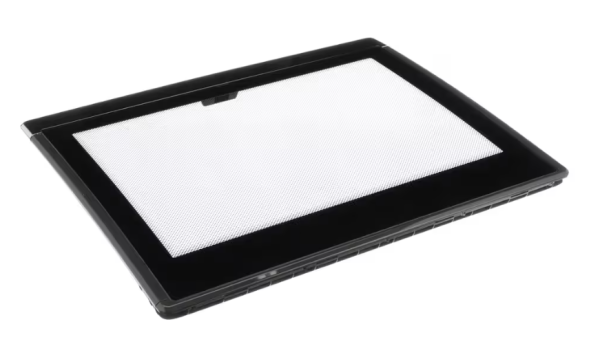
Whirlpool W11259006 Washer Lid Assembly
Special Price
$288.62
Regular Price
$358.28
In stock
Available Quantity:
212
SKU
W11259006
Product Description
The Whirlpool W11259006 Washer Lid Assembly help to provide a durable and well-fitted lid for the washing machine for safety and efficiency. Made to fit better, ensure correct positioning and sealing to avoid water seepage and for the wash cycle to run effectively. The lid assembly play an essential role of controlling the water level and also shields the interior part from being damaged. This helps in minimizing noise, improving the energy conservation, and increasing the durability of the machine while providing the user with a efficient laundry experience.
Manufacturer

✓ This Product Replaces:
W10714900, W11094984