Whirlpool W11253212 Washing Machine Screw
$13.78
In stock
Available Quantity:
70
SKU
W11253212
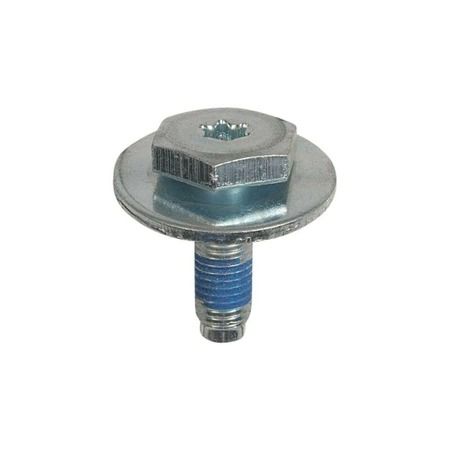
Product Description
The Whirlpool W11253212 is a genuine replacement screw made for specific Whirlpool, Crosley, and Maytag washer models. This screw is essential to the washer's spin cycle operating correctly. It fastens the rotor, which is an essential part of the motor assembly. For the laundry to spin during the drying process, centrifugal force must be generated by a functioning rotor. A loose or damaged screw might threaten the rotor's stability, perhaps resulting in strange noises, vibrations, or even spin cycle malfunction. Replacing a worn-out or misplaced W11253212 screw with a genuine replacement ensures that the rotor fits securely, allowing your washing machine's spin cycle to run smoothly and efficiently. Operations will be quieter as a result.
Manufacturer

✓ This Product Replaces:
W10253477, WPW10253477, W11115611